
A photo booth can give guests something fun to do at a company event and create photos that fit your brand.
This checklist keeps the setup clear.
Define the Goal
Before choosing the booth location or design, decide what the booth is for.
Common goals include:
- Guest entertainment
- Social sharing
- Brand awareness
- Team photos
- Photos to share after the event
The goal affects everything else. A booth for a holiday party can be playful. For a product launch, use a design that matches the product and company.
Prepare the Visual Style
Use colors and a design that match the rest of the event.
Simple details can make a big difference:
- A branded backdrop
- A clean photo frame
- A short event hashtag
- A layout that includes the company or event name
Avoid adding too many logos. The photo should still feel like something guests want to keep.
Confirm Permissions
If photos may be used in marketing, internal communications, or social media, make the policy clear before the event.
For public sharing, include a simple notice near the booth or in the event terms. For private team events, decide who can access the gallery after the event.
Test the Venue Network
Corporate venues often have restricted Wi-Fi. Test sharing before guests arrive, especially if QR codes or online galleries are part of the plan.
If the network is unreliable, keep the booth usable offline and upload the photos later. The booth should not stop working because the venue connection is slow.
Assign an Owner
Even a simple booth benefits from one person checking it during the event.
That person should know how to:
- Restart the app if needed
- Confirm the iPad is charging
- Check that photos are saving
- Keep the booth area tidy
This does not need to be a full-time job, but it should be someone's responsibility.
Review the Photos Afterward
After the event, export or review the gallery while the event is still fresh. Choose photos for a follow-up email, your team’s chat, or social media.
Keep the booth easy to use, match the design to your event, and test it before guests arrive.
Manuel Escrig

Manuel Escrig
Manuel is the creator of Photo Booth App and GoInspired LLC. He builds the iPhone, iPad, web, and event-gallery pieces behind the product. Read more about me
 Share on Facebook
 Share on X
Keep reading
All posts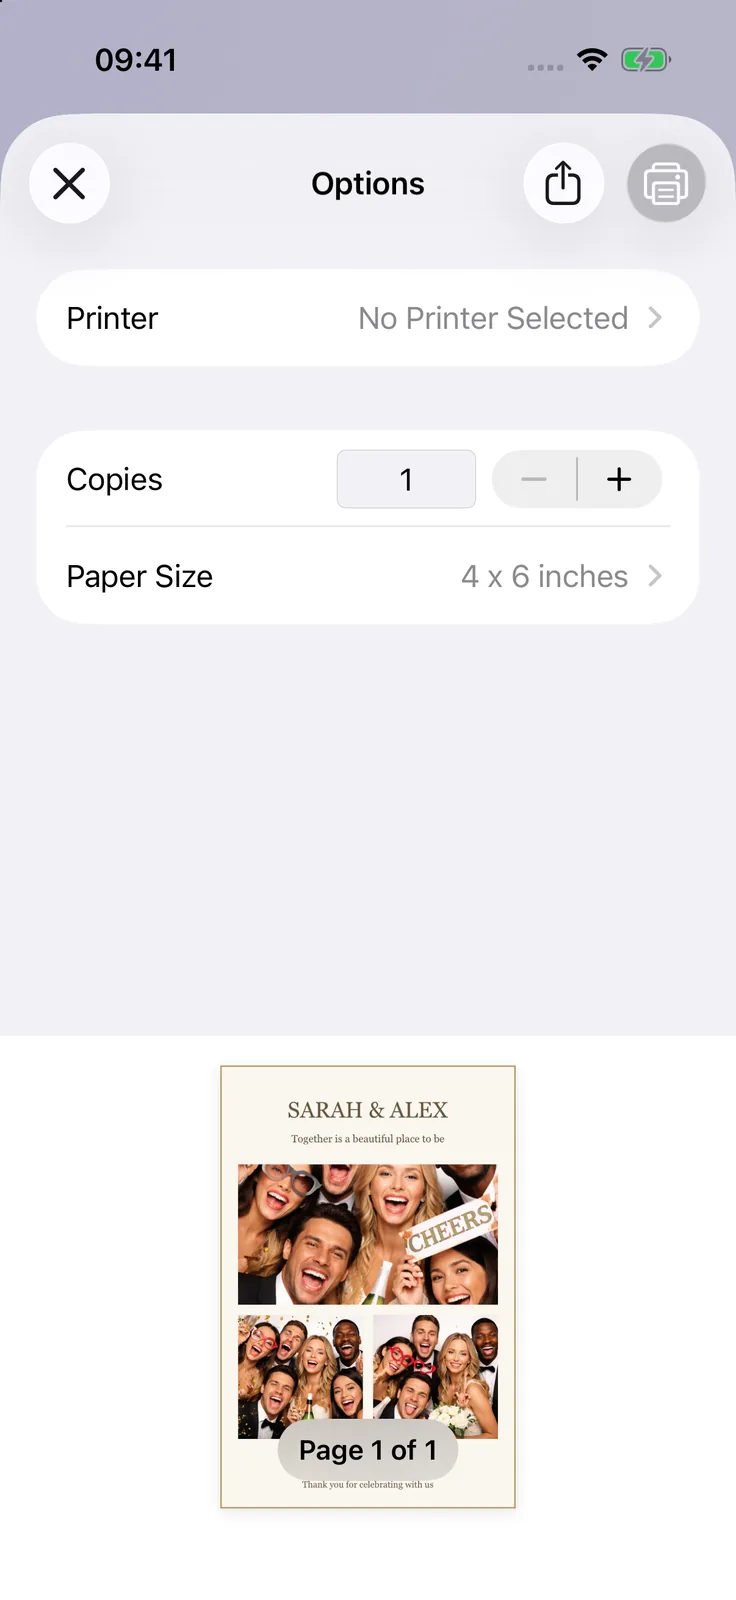
Print photo booth photos with AirPrint
Set up an AirPrint printer, choose your paper size, and make a test print. Find out what to check if your printer does not appear.
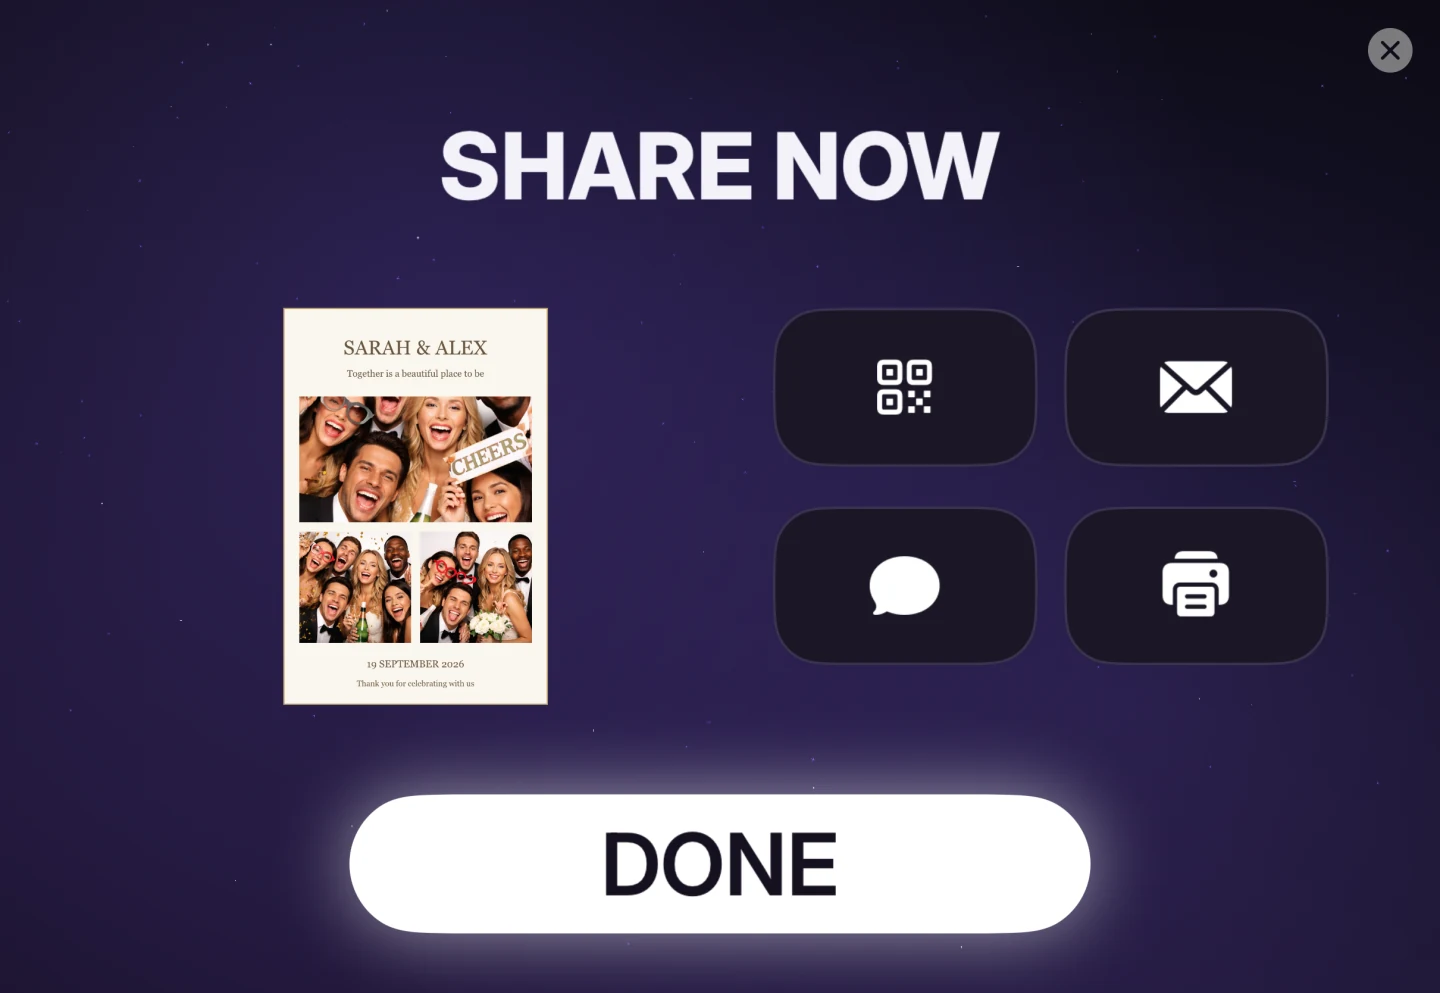
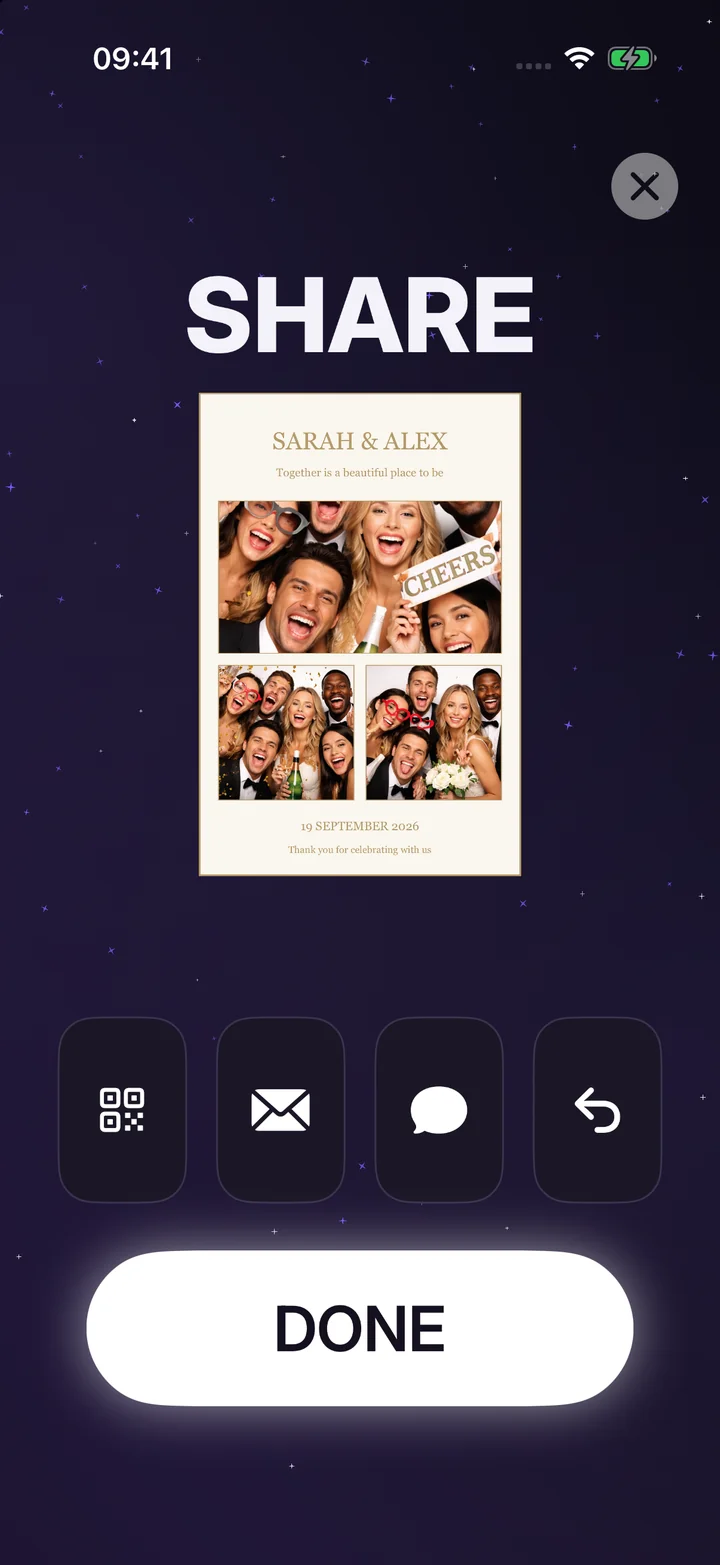
Photo Booth Sharing Guide for Event Hosts
Help guests get their photo booth photos through AirDrop, QR codes, email, text messages, online galleries, or prints.