BLOG

How The Photo Booth App Works

A step-by-step look at how The Photo Booth App helps you create an event, choose templates, launch the booth, capture photos, and share results.

How The Photo Booth App Works

I'm Manuel, the solo developer behind The Photo Booth App. I built the app around a simple idea: set up the event once, then let guests enjoy a clean photo booth experience without needing instructions.

This walkthrough shows how I designed the main flow, from event setup to sharing.

Start With a Photo Booth Screen

The guest experience begins with a start screen. This is the screen guests see before they take a photo, so it should be clear, inviting, and matched to the event style.

Step 1: Neon ready start screen with a start button
Step 1: A bold start screen helps guests understand that the booth is ready.

The app includes different visual styles for the start screen, from colorful party themes to darker event looks.

Step 2: Colorful ready start screen with a yellow start button
Step 2: Start screens can match birthday parties, weddings, school events, or branded events.
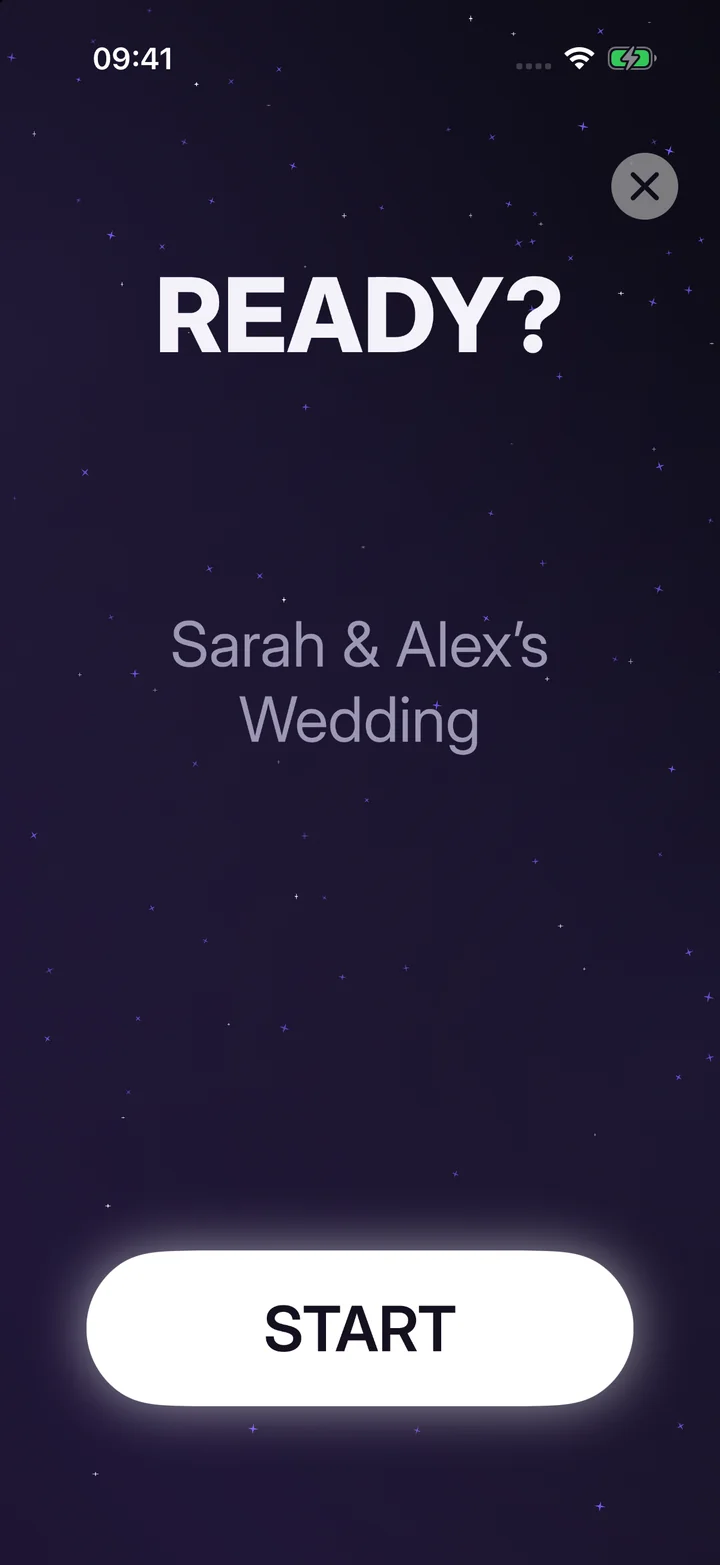
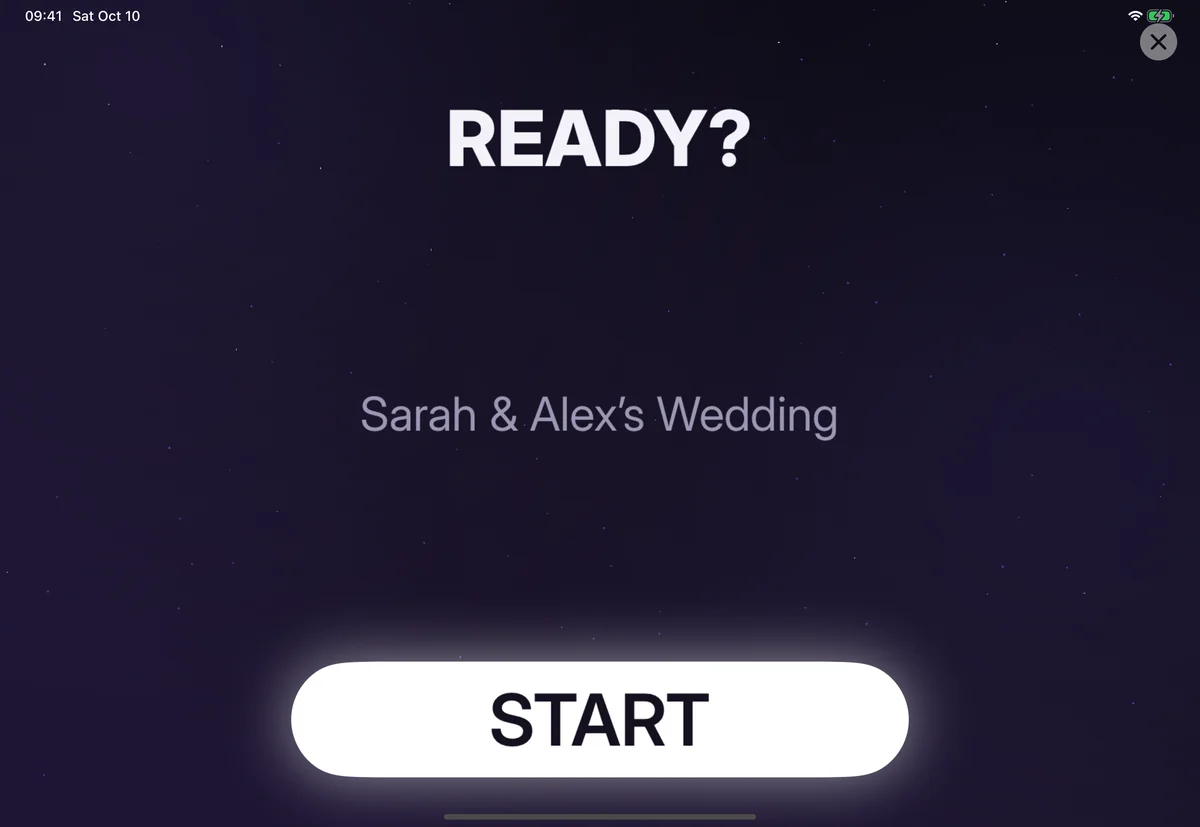
Step 3: Dark ready start screen with a glowing start button
Step 3: A quieter start screen works well for evening events and formal setups.

Create or Reopen an Event

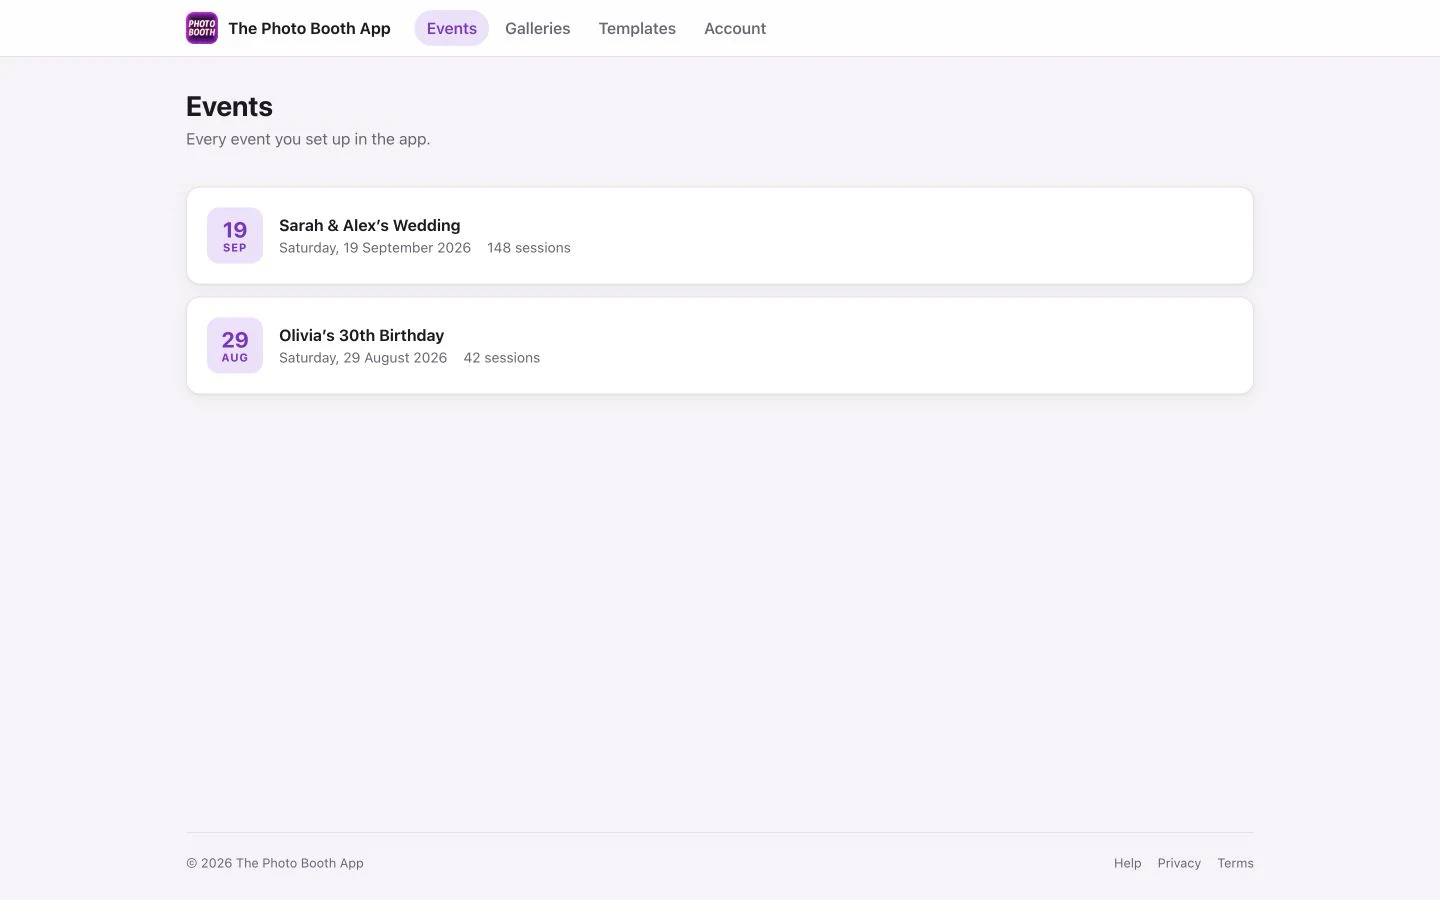
Events keep everything organized. Each event can have its own templates, photo sequence, gallery, sharing options, and settings.

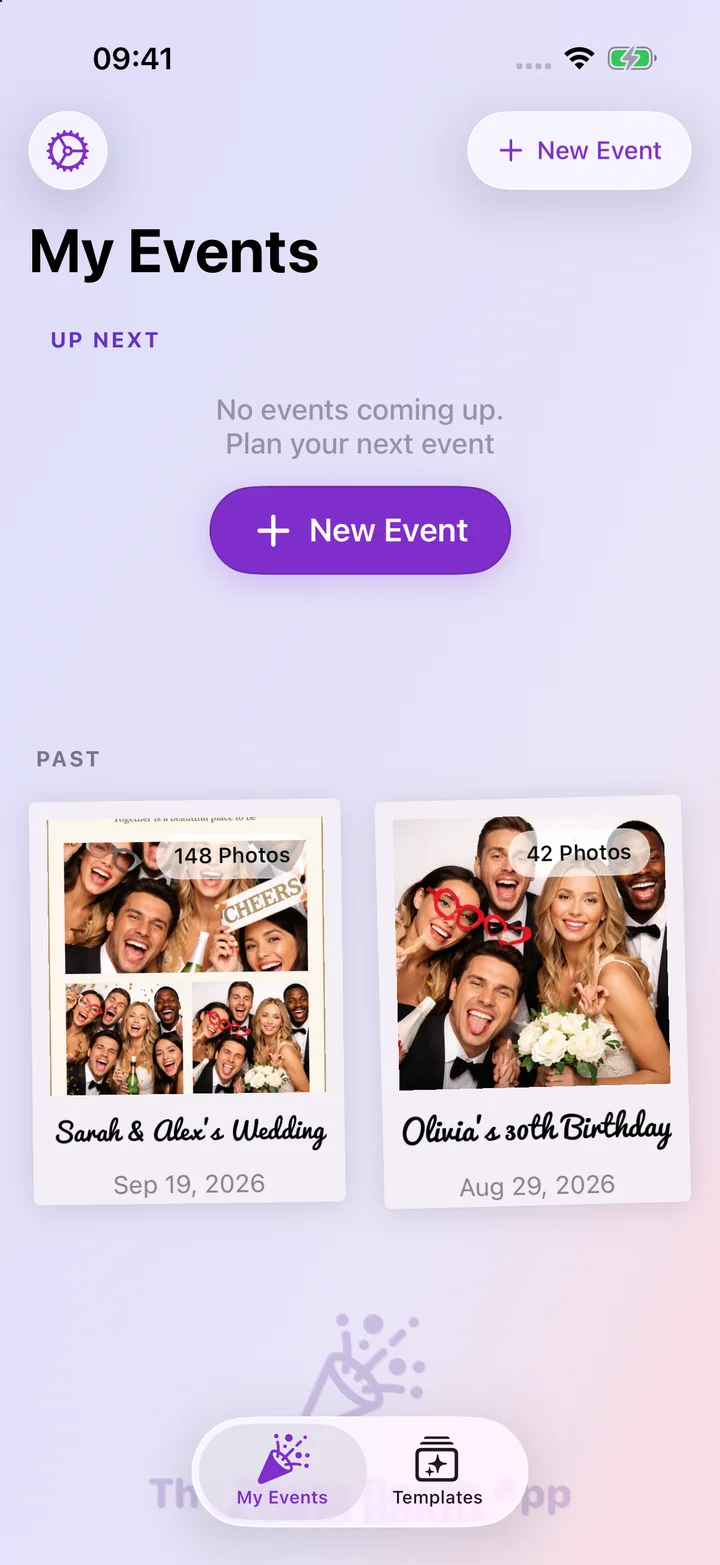
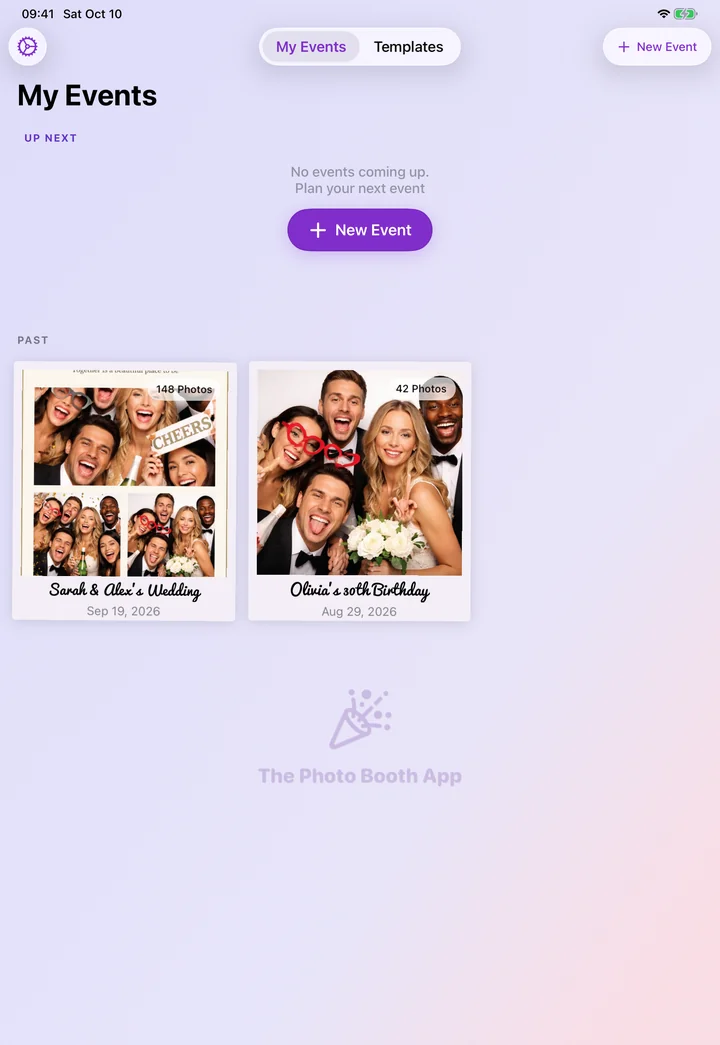
Step 4: My Events screen with a past wedding event and a new event button
Step 4: Create a new event or reopen a past one from the My Events screen.

Once an event exists, you can customize it before launching the booth.

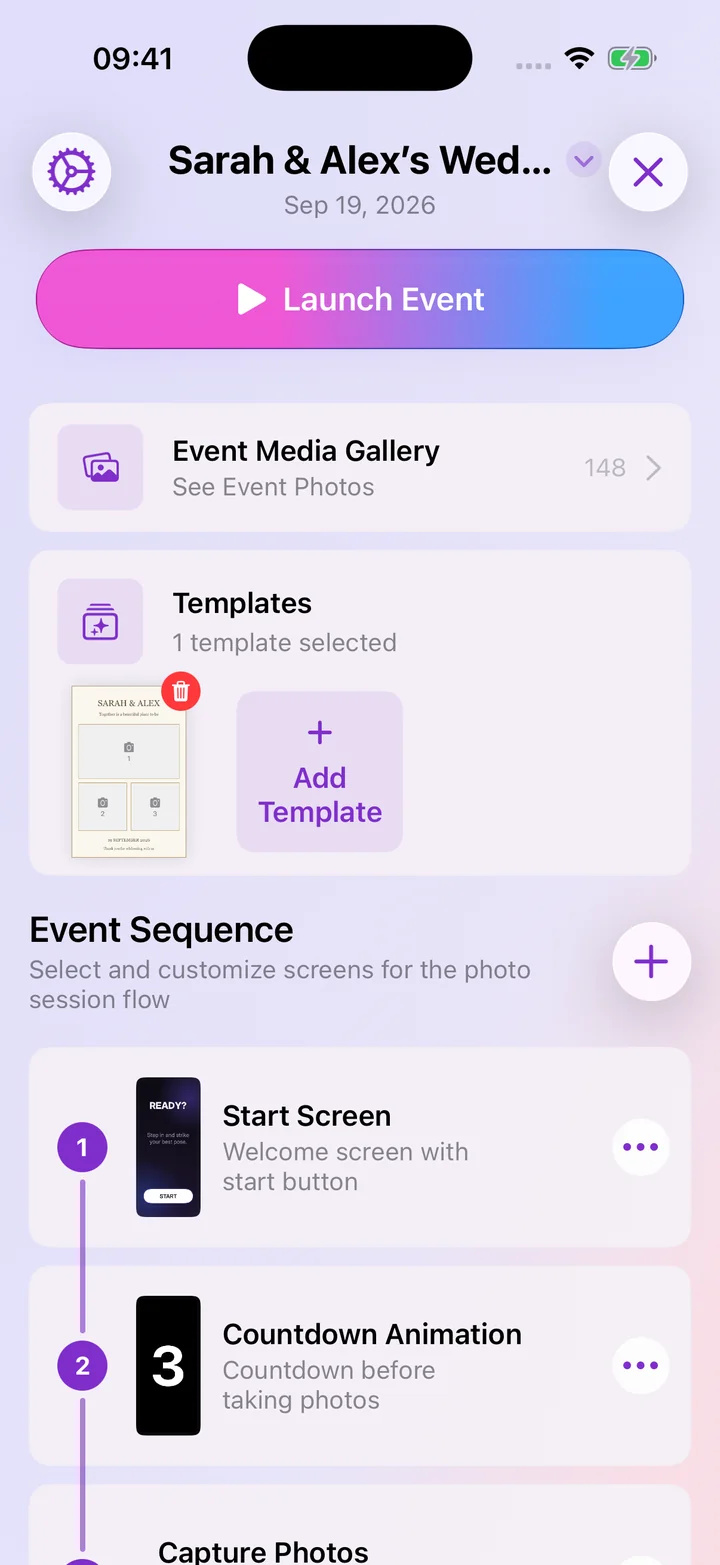
Step 5: Event setup screen for Sarah's Wedding
Step 5: Each event has its own launch button, templates, media gallery, and sequence.

Choose Templates

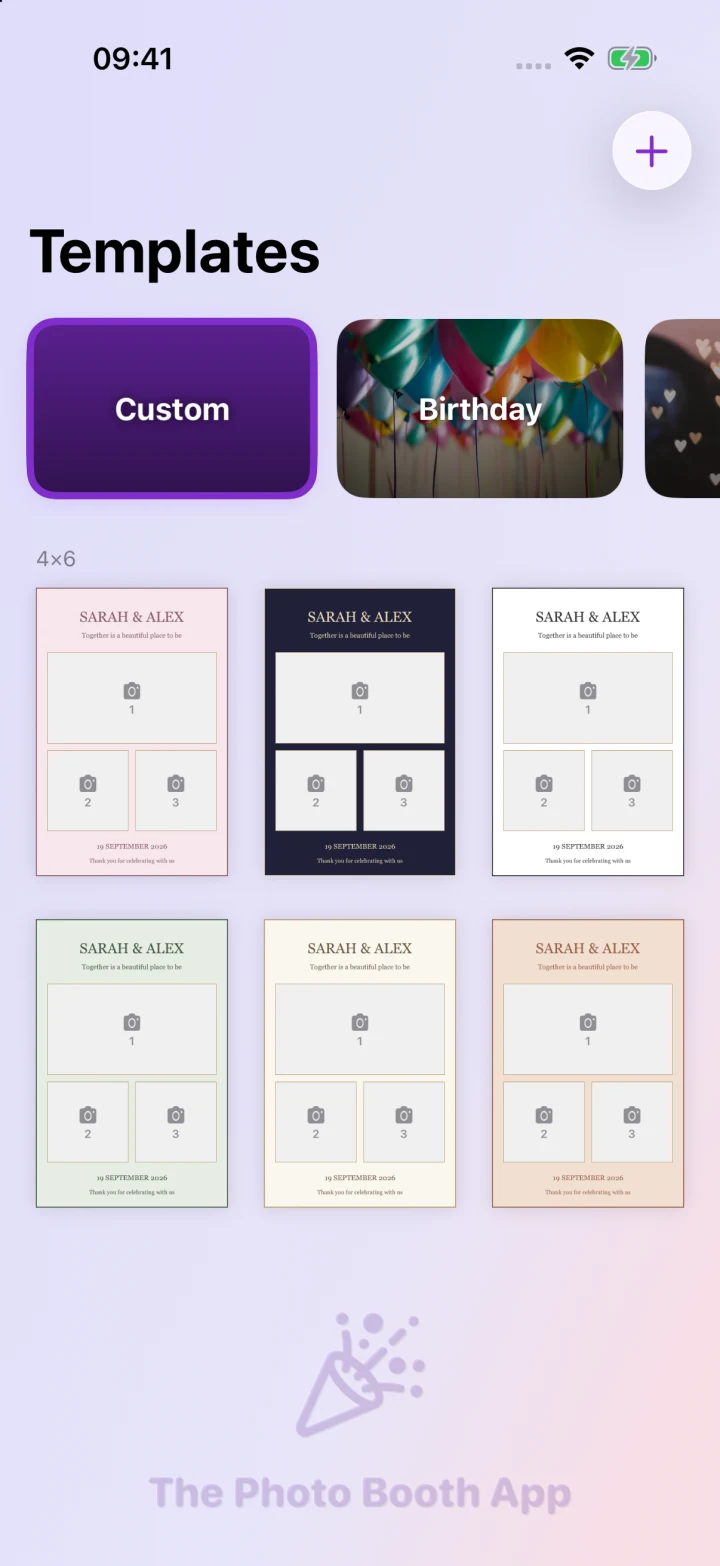
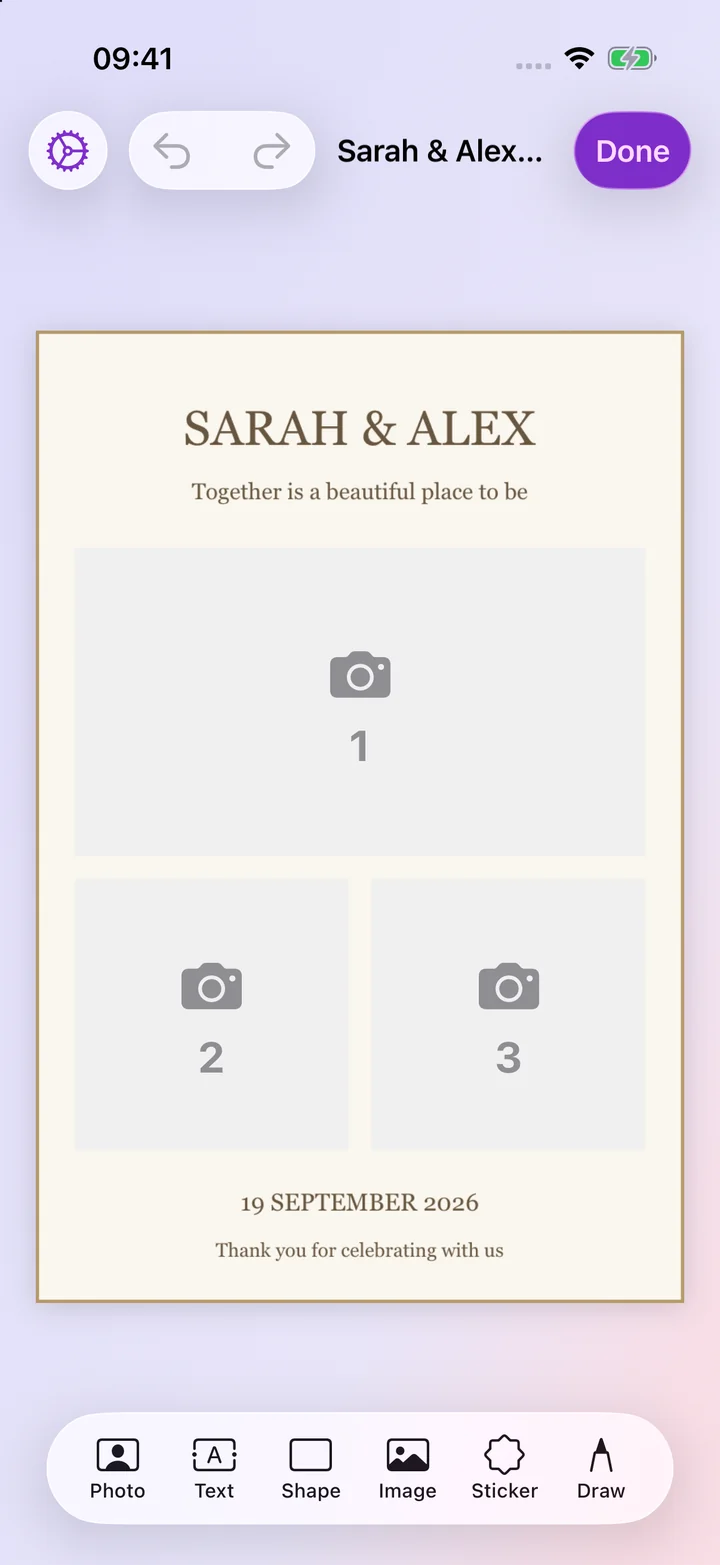
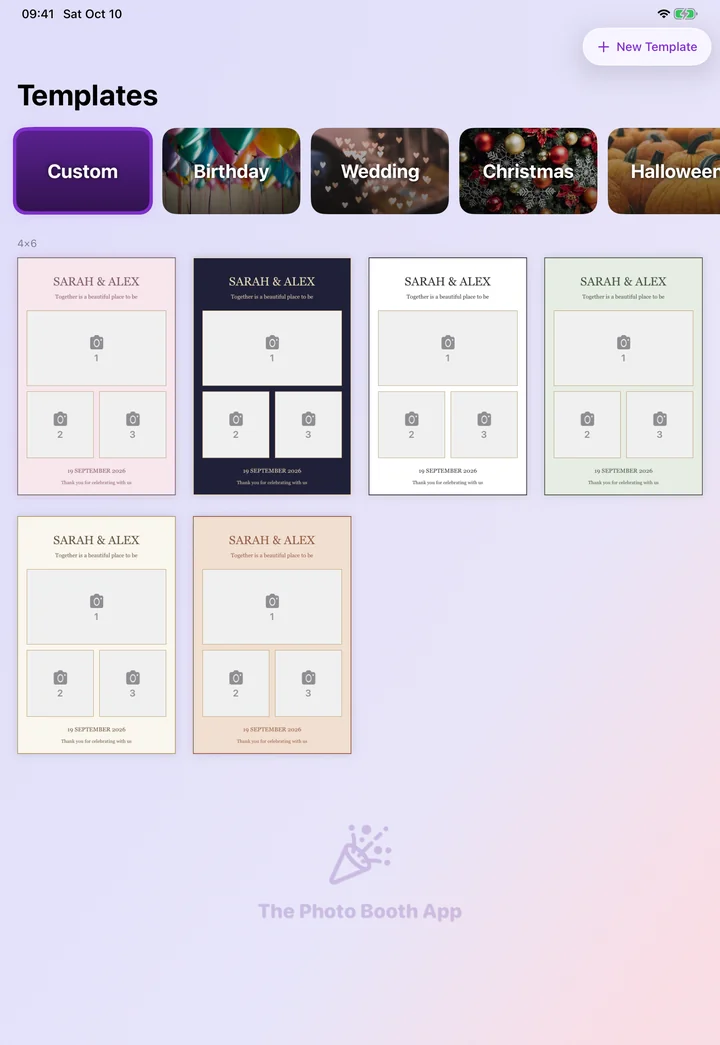
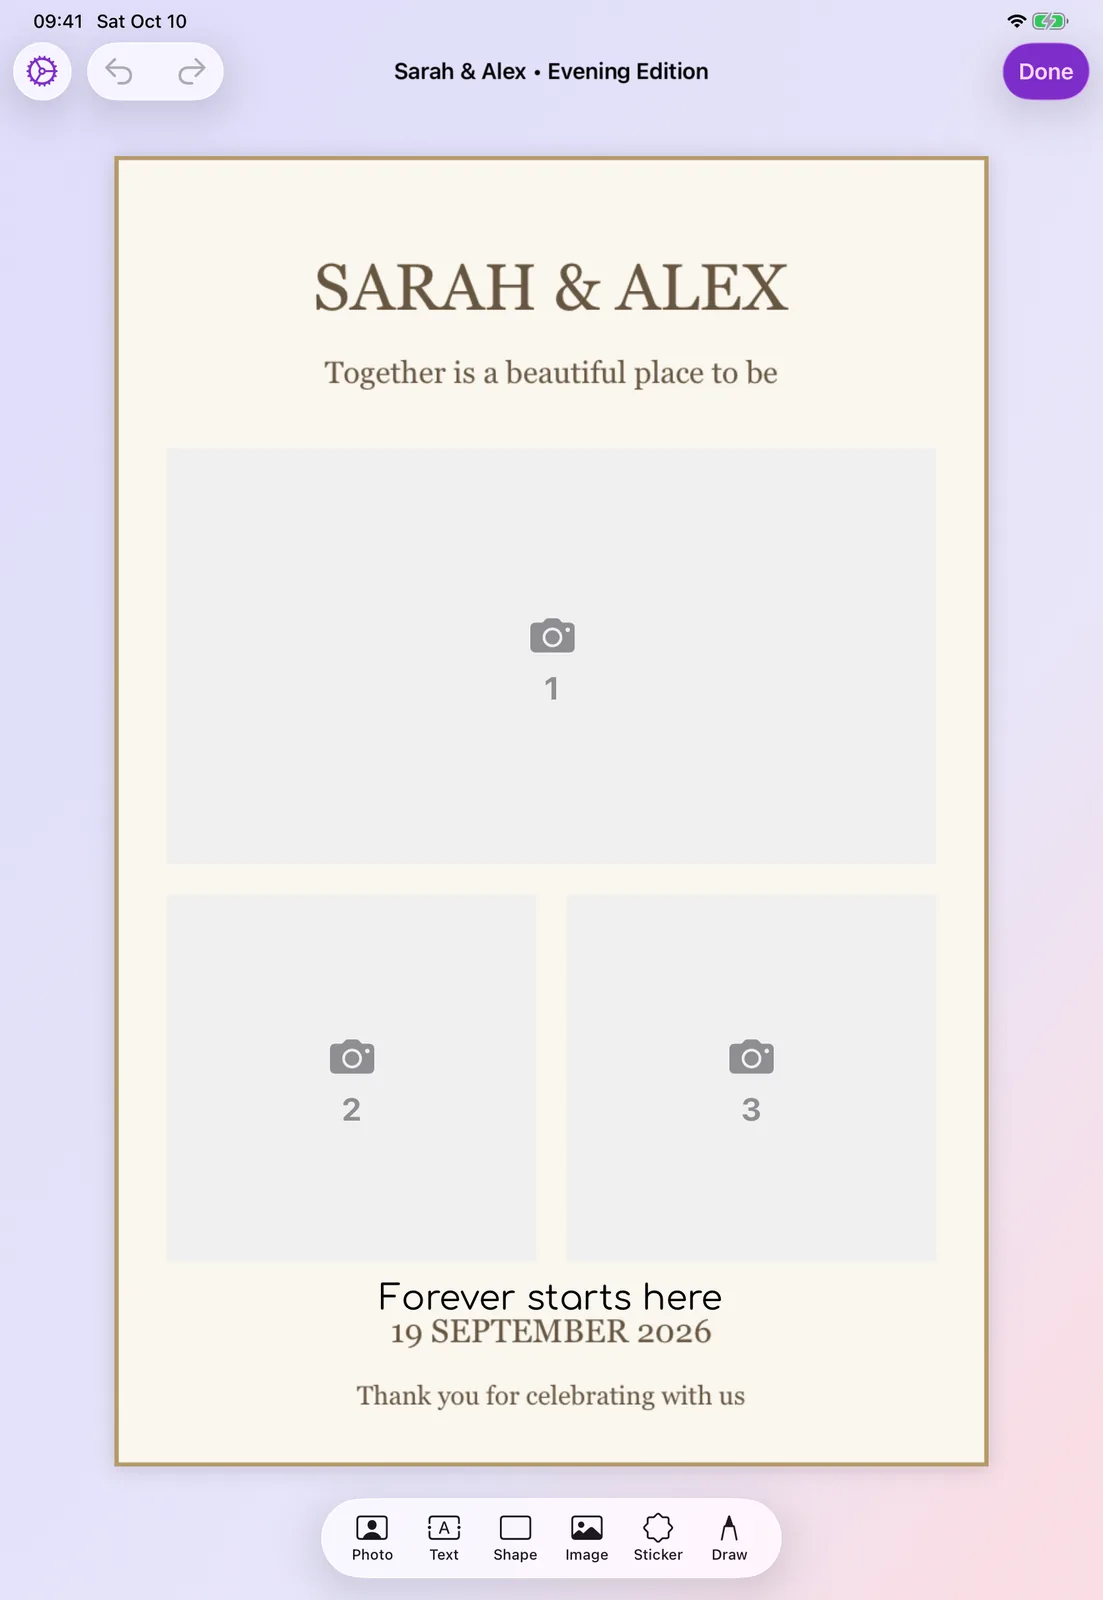
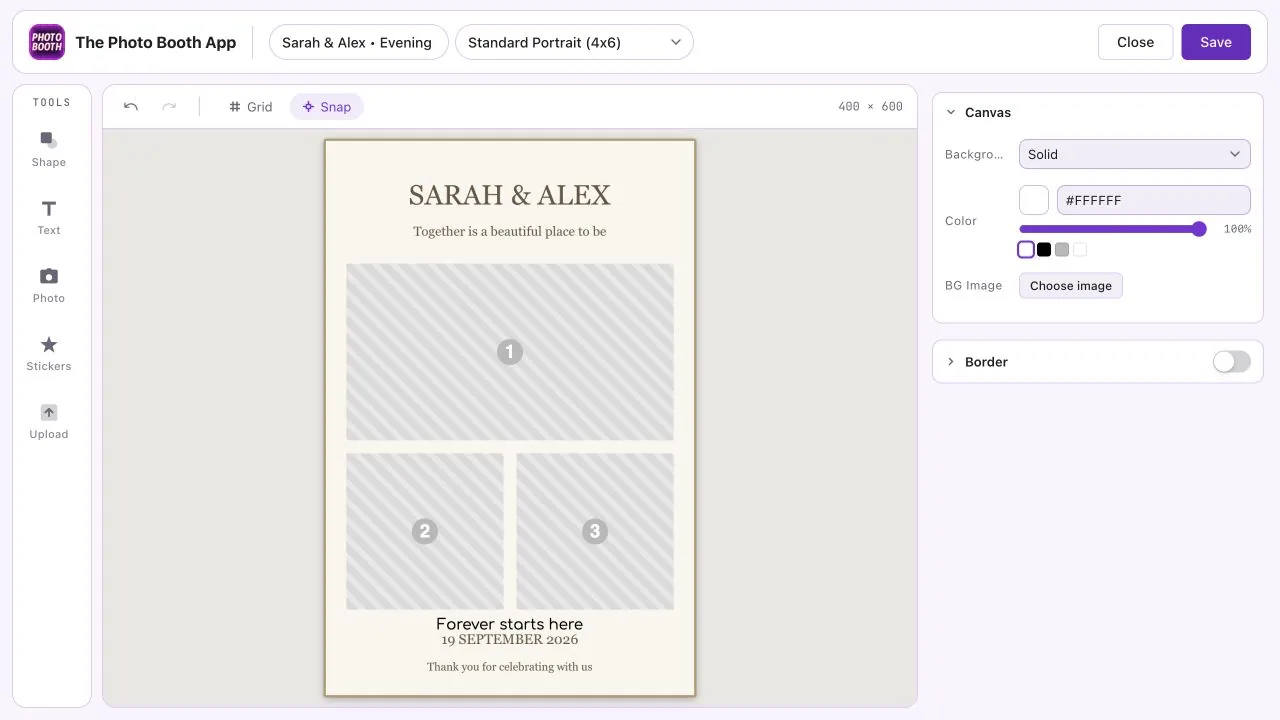
Templates define how the final photo output looks. You can use formats such as single prints, strips, grids, and themed layouts.

Step 6: Templates screen with birthday and wedding template categories
Step 6: Templates make it easy to match the photo layout to the event.

For weddings, parties, and corporate events, templates help the booth feel intentional instead of generic.

Build the Event Sequence

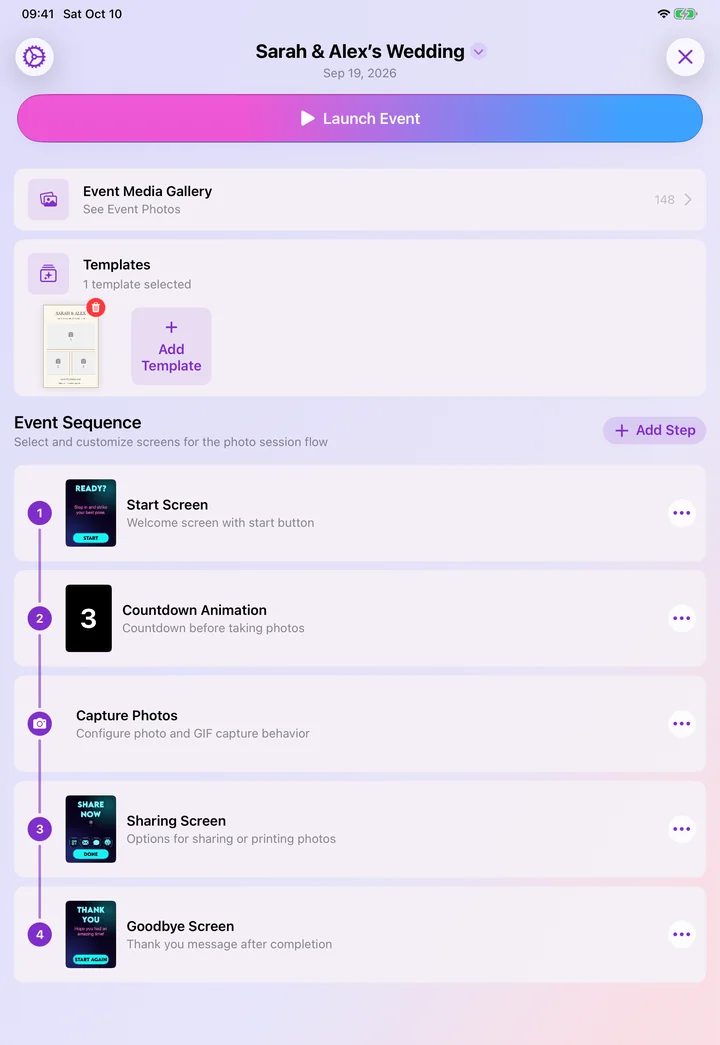
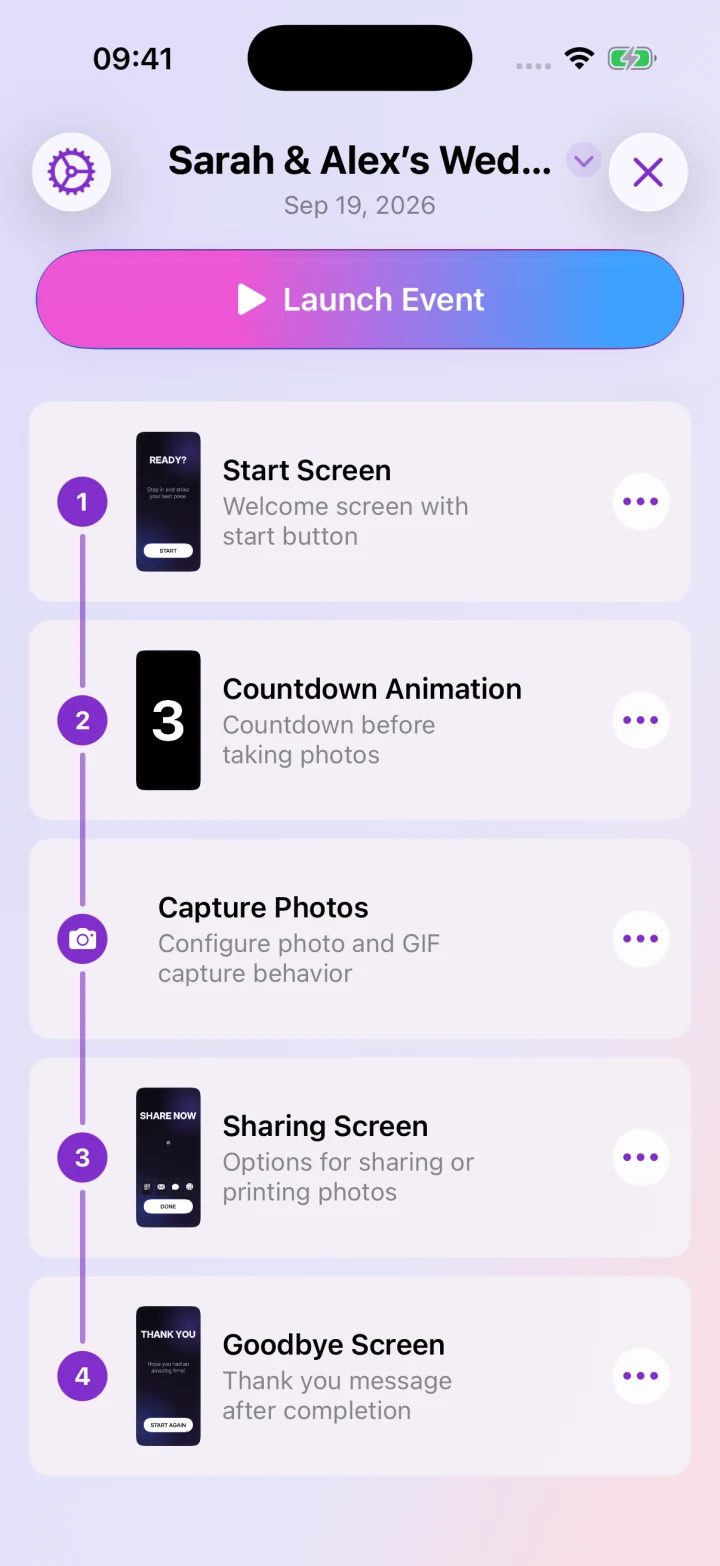
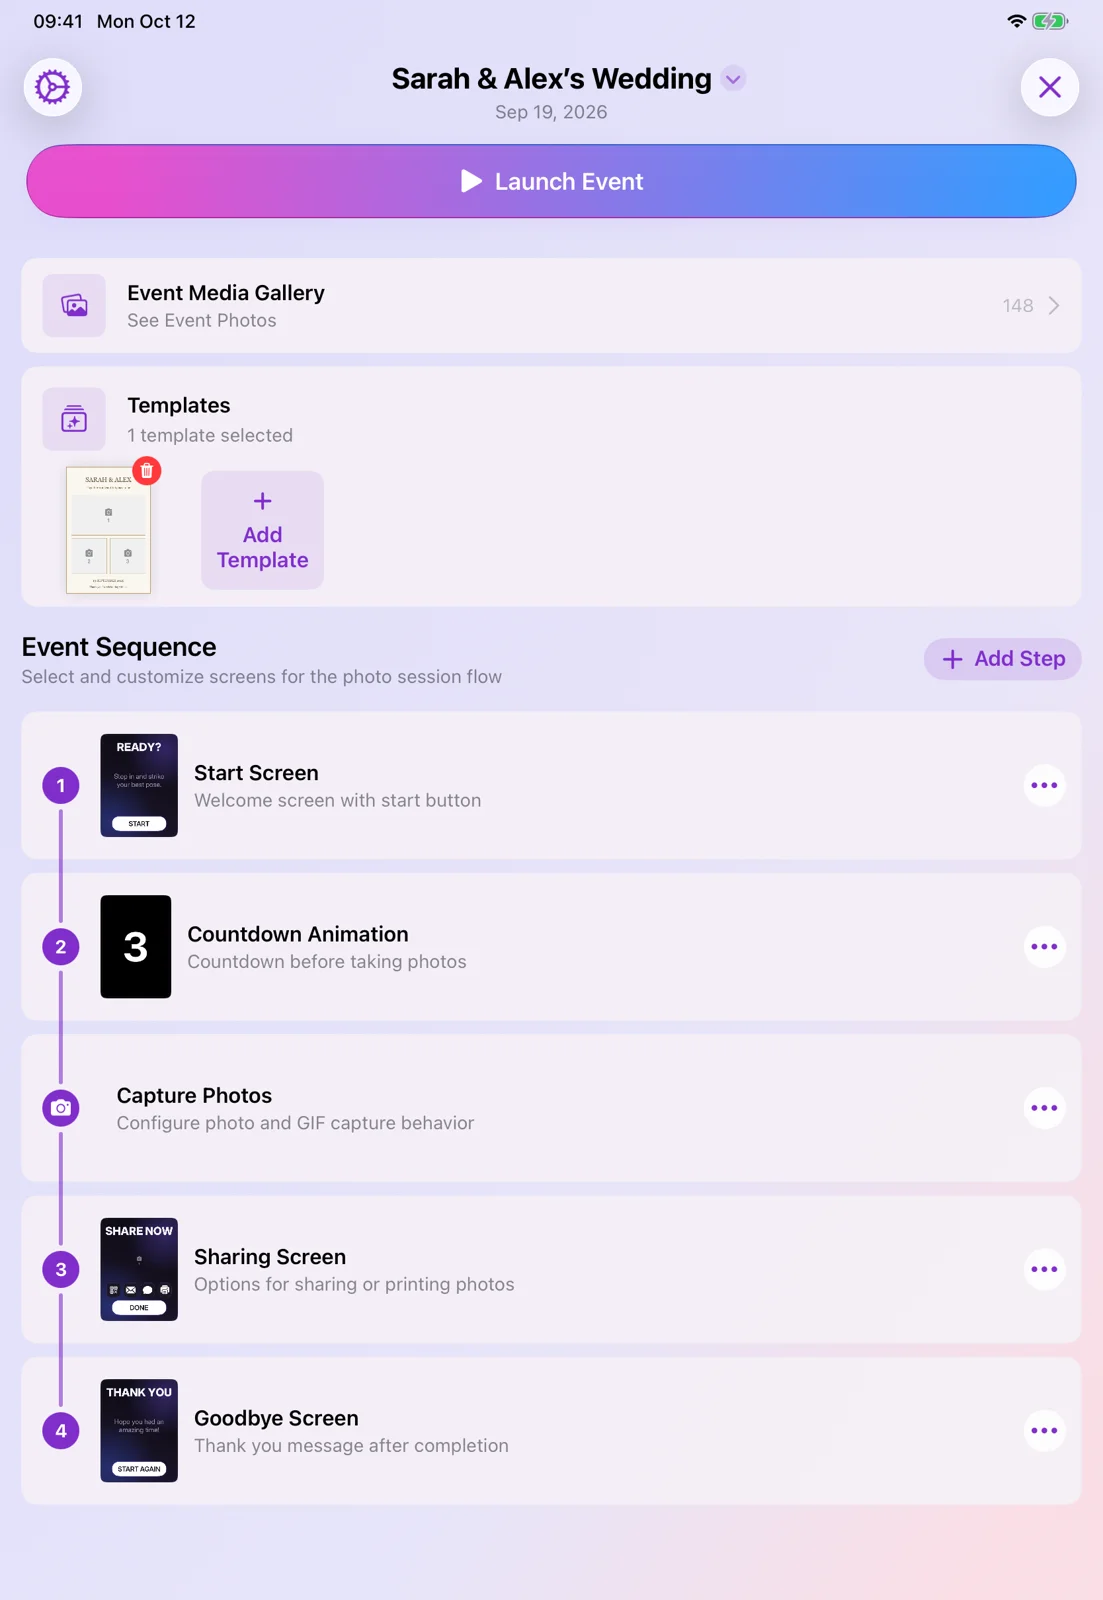
The event sequence controls what guests see from start to finish. A typical sequence includes a start screen, countdown animation, capture step, sharing screen, and goodbye screen.

Step 7: Event sequence with start screen, countdown animation, capture photos, sharing, and goodbye
Step 7: The sequence shows the complete guest flow in one place.

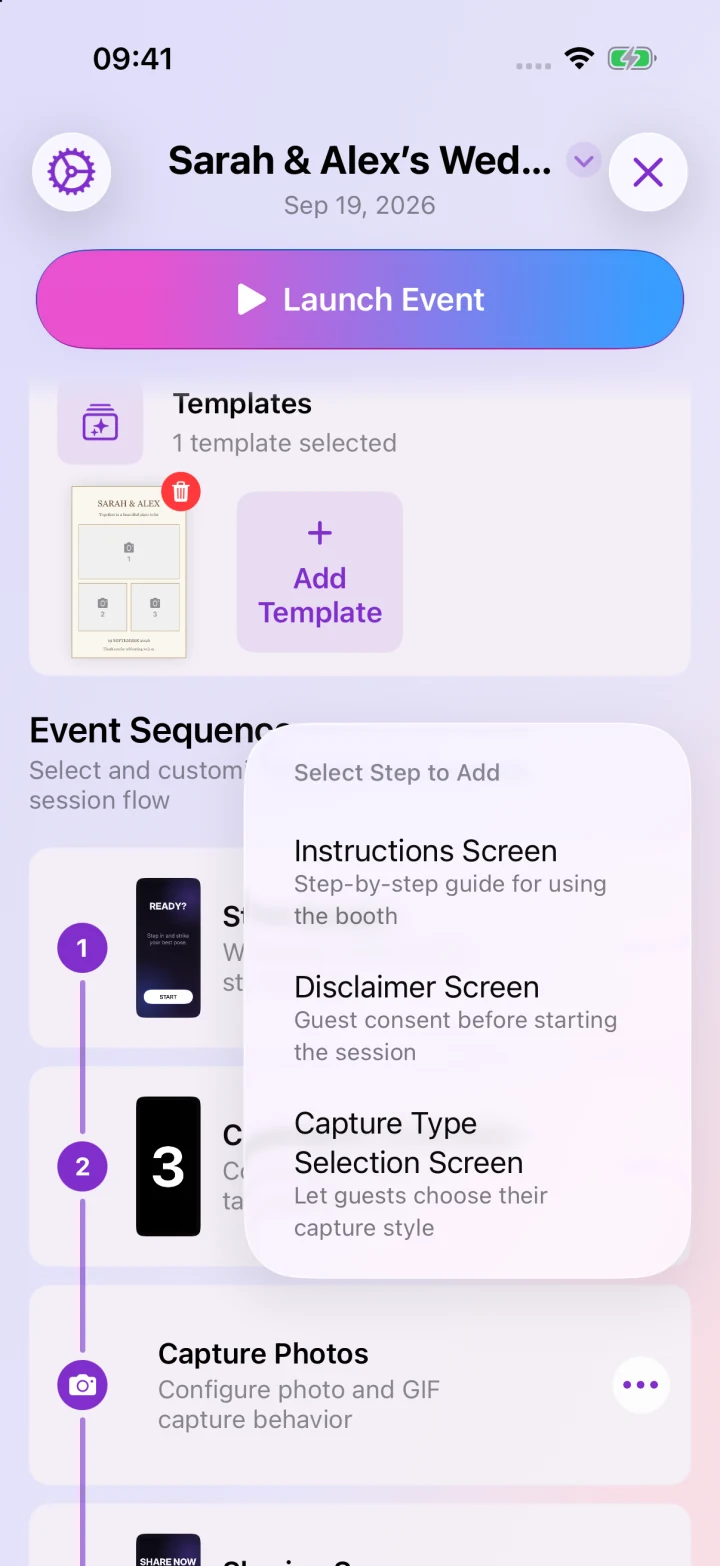
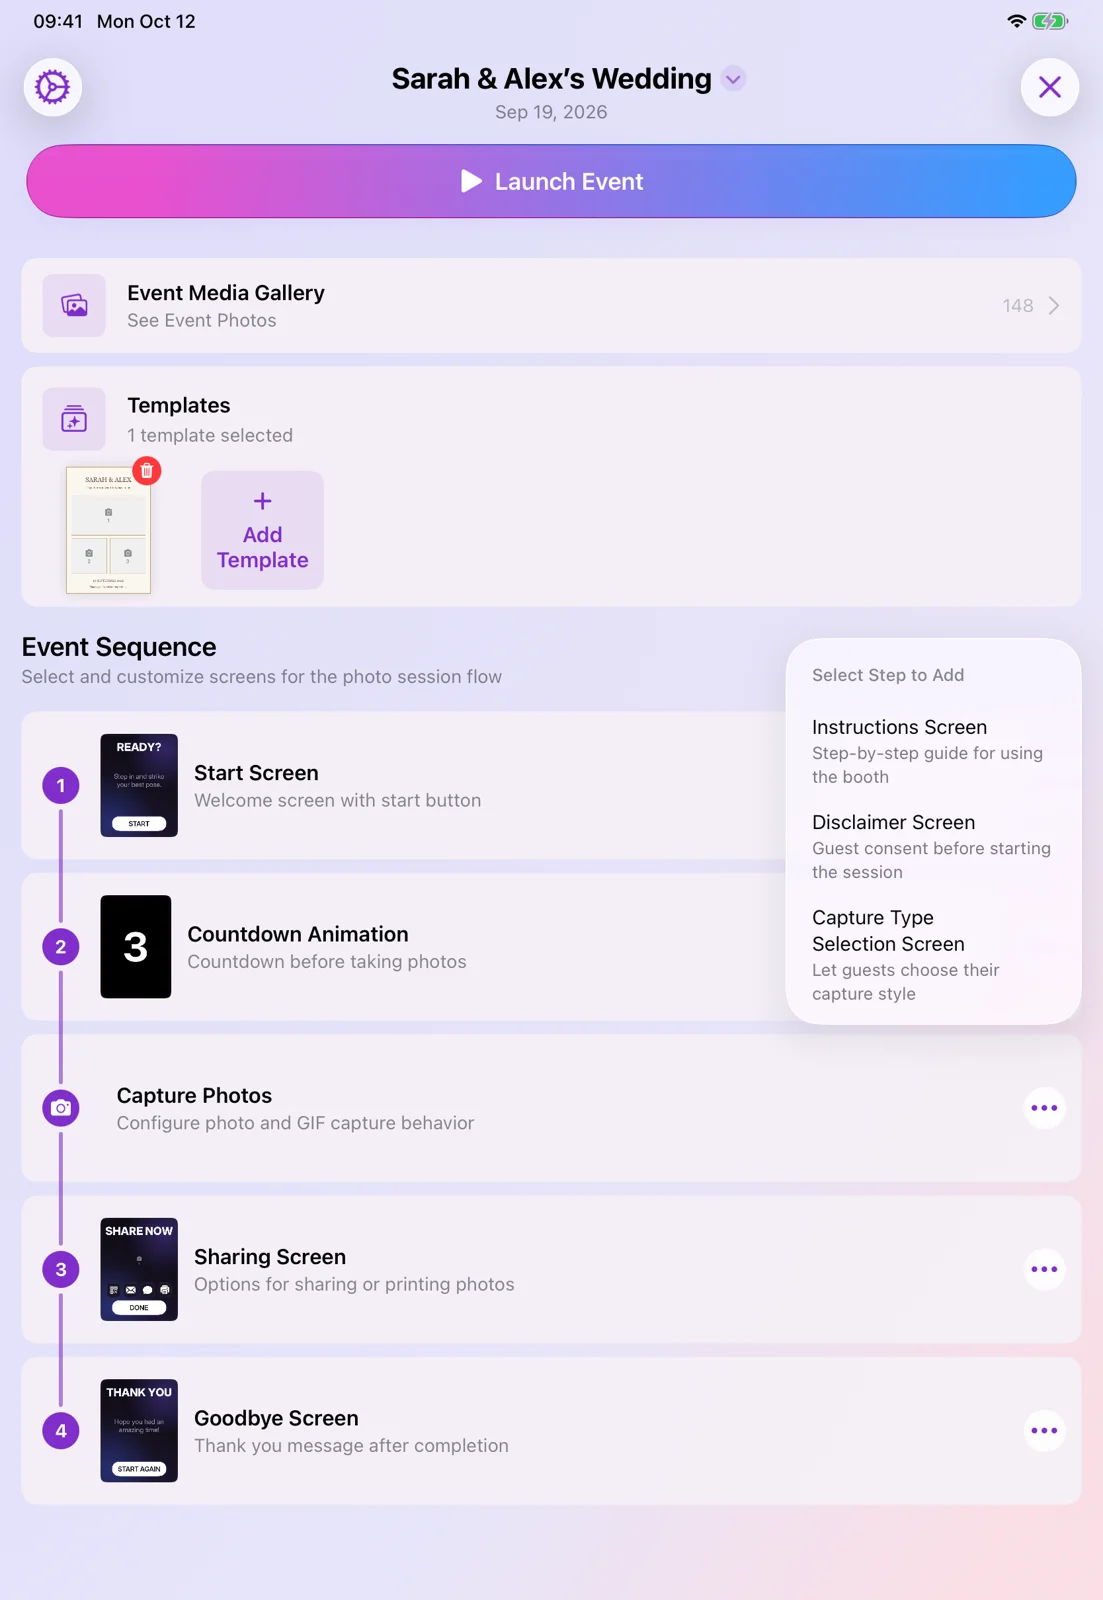
You can add more screens when the event needs them. For example, you may want instructions before guests begin, a disclaimer screen, or a capture type selection screen.

Step 8: Menu for adding instructions, disclaimer, and capture type screens
Step 8: Optional screens can be added for more controlled events.

The sequence is designed so you can see what will happen before the booth goes live.

Step 9: Event sequence with the setup menu open
Step 9: The event menu includes options such as renaming, updating, duplicating, or deleting an event.

Configure the Event

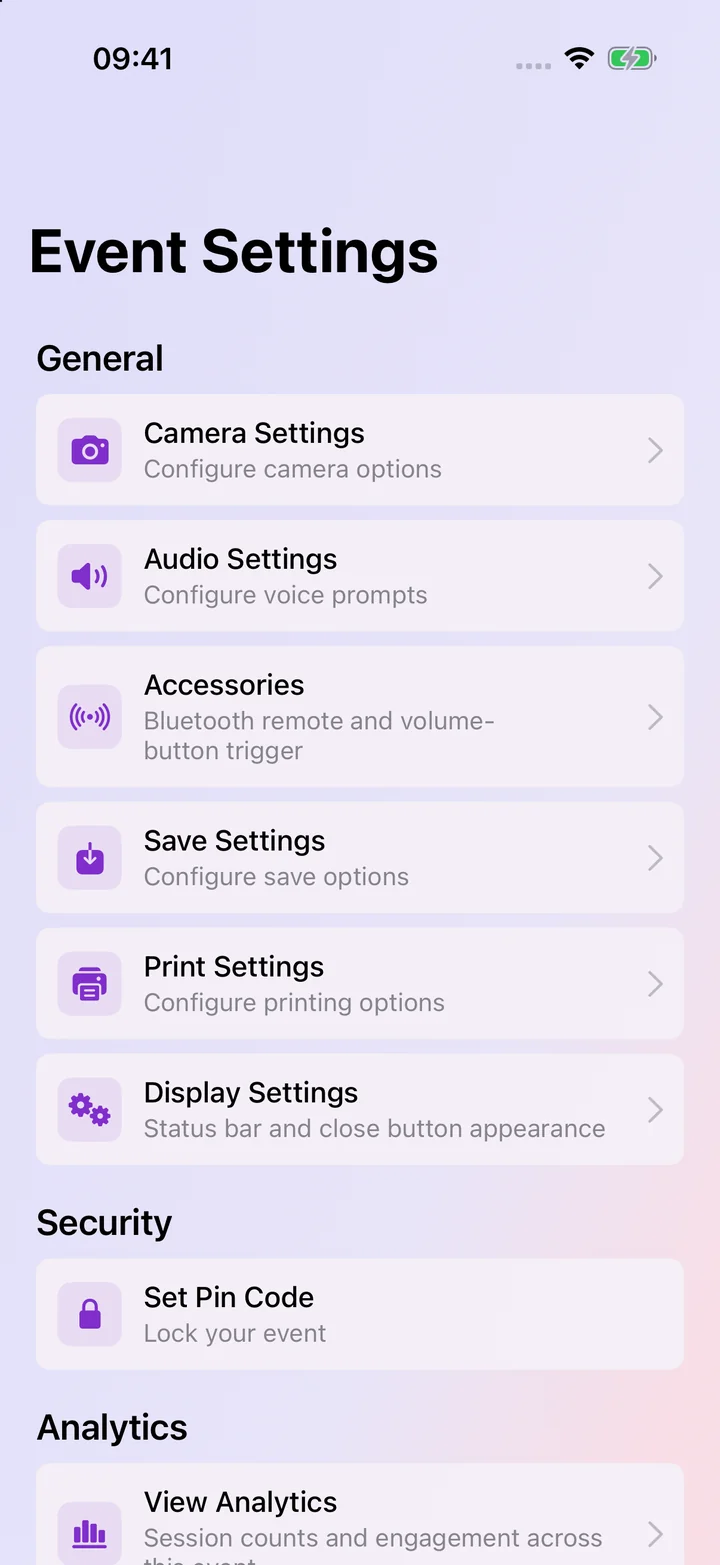
Event settings let you adjust the technical details before launch.

Step 10: Event settings screen with camera, audio, accessories, save, print, and display settings
Step 10: Settings cover the booth behavior, display, printing, saving, accessories, and security.

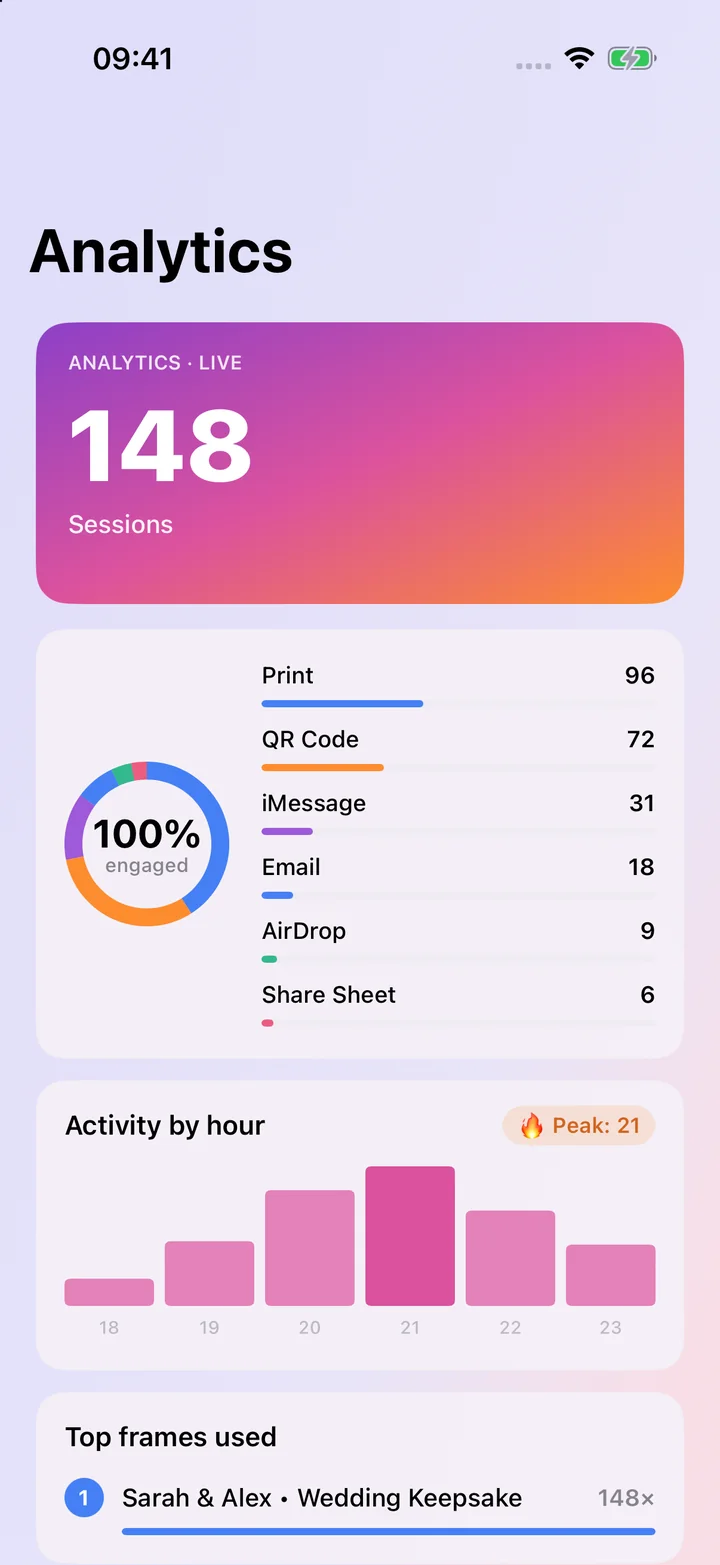
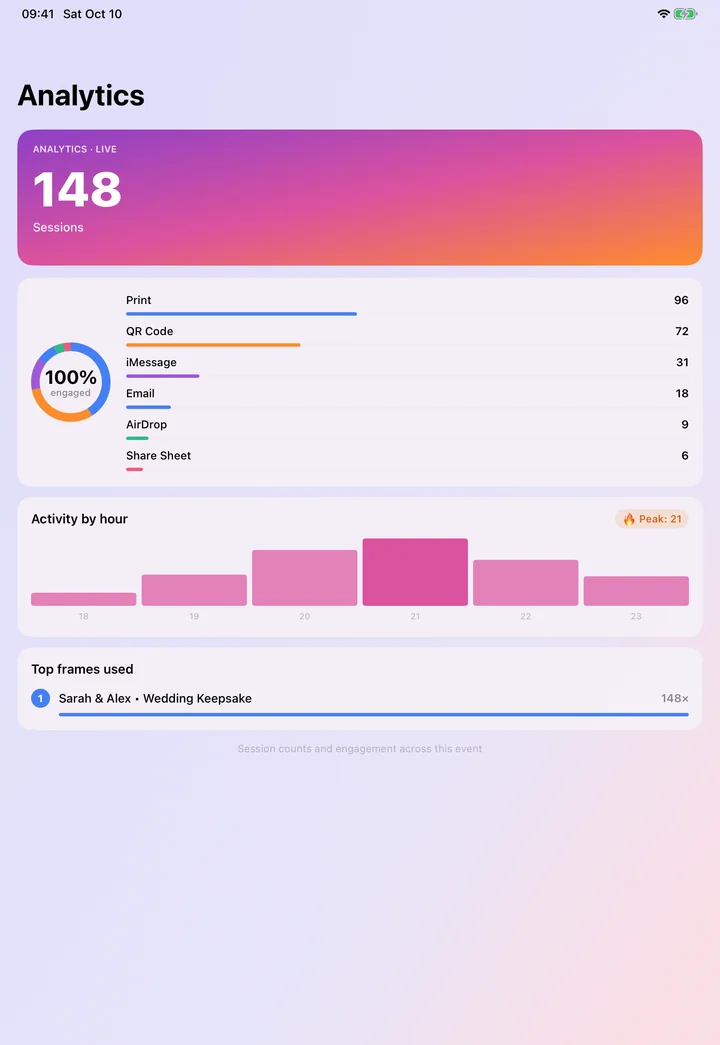
The app also includes analytics so you can see how guests used the booth during the event.

Step 11: Analytics screen showing sessions, engagement, activity by hour, and top frames
Step 11: Analytics show sessions, engagement, sharing methods, and popular templates.

Check Everything Before Launch

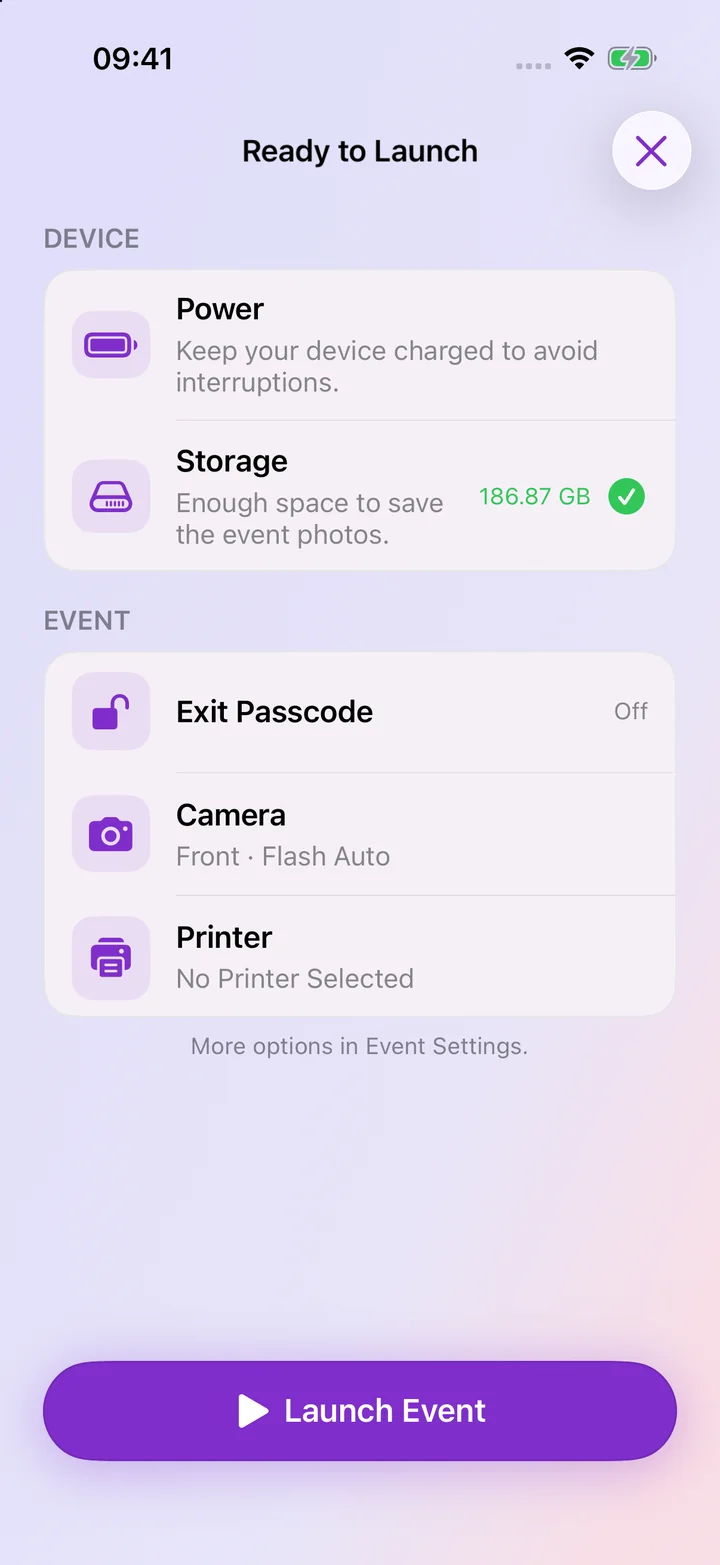
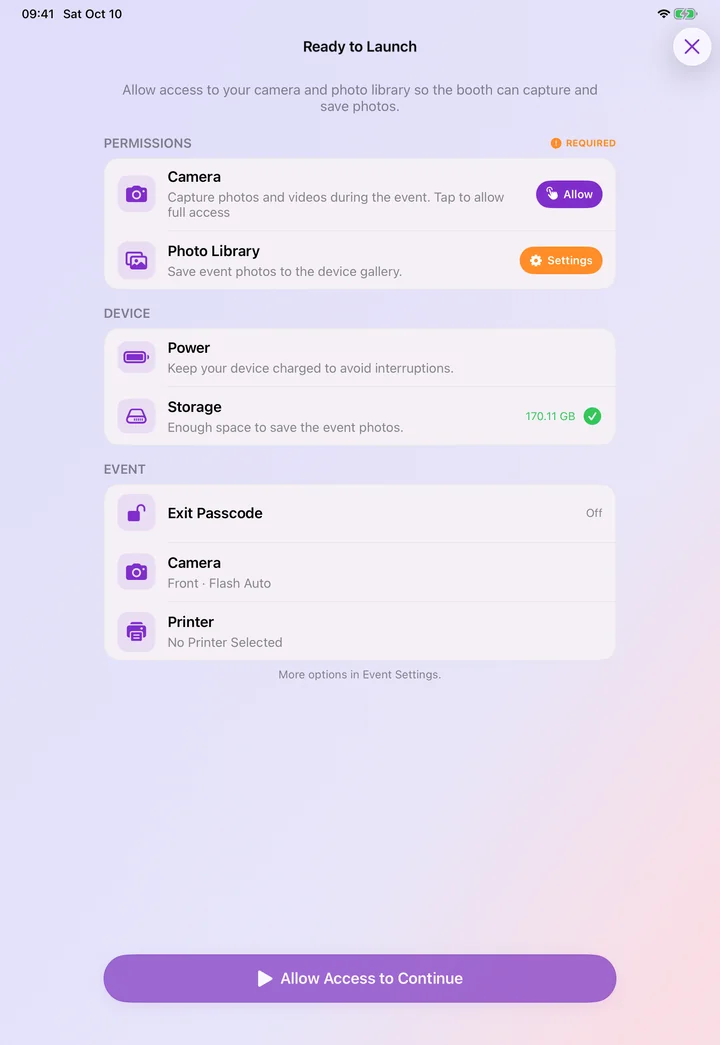
Before launching an event, the app shows a readiness check. This helps you confirm the basics: power, storage, exit passcode, camera, and printer.

Step 12: Ready to Launch screen with device and event checks
Step 12: The pre-launch screen helps catch setup issues before guests arrive.

When everything is ready, launch the event and hand the booth over to guests.

Guests Tap, Pose, and Capture

The guest flow is intentionally simple. Guests see a welcome screen, tap to begin, and then follow the countdown.

Step 13: Welcome screen with a tap to begin button
Step 13: The welcome screen gives guests a clear starting point.
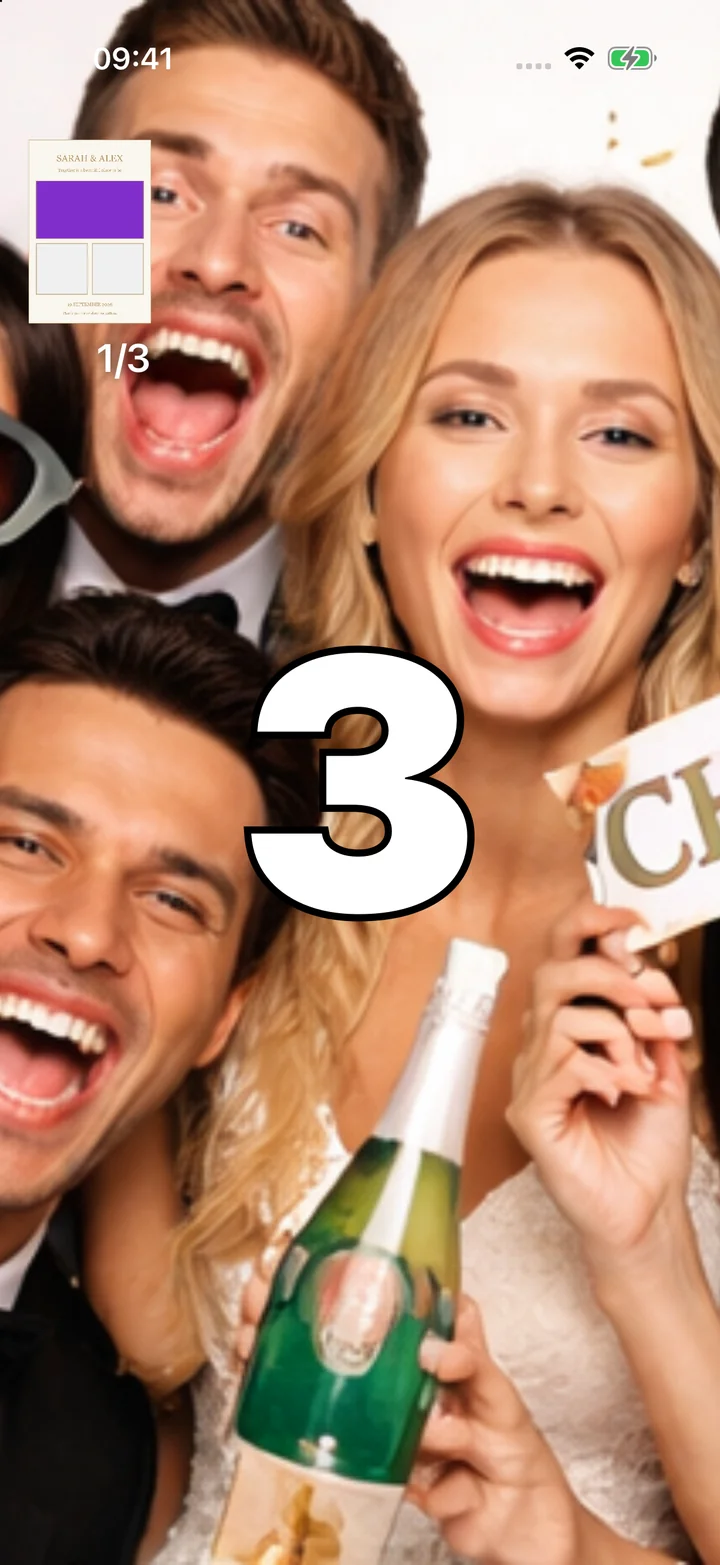
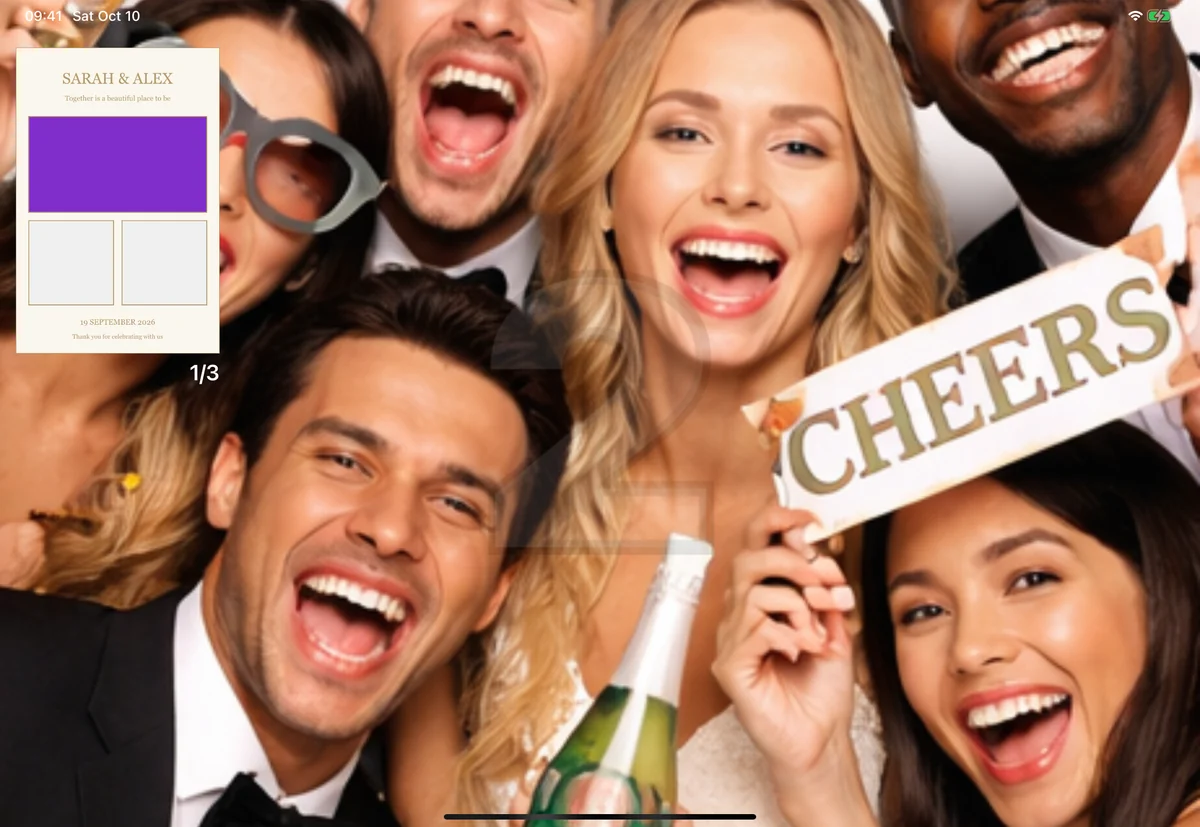
Step 14: Countdown screen showing the number two
Step 14: The countdown gives guests time to pose before the photo is taken.

After capture, guests can review the result and choose what to do next.

Share the Result

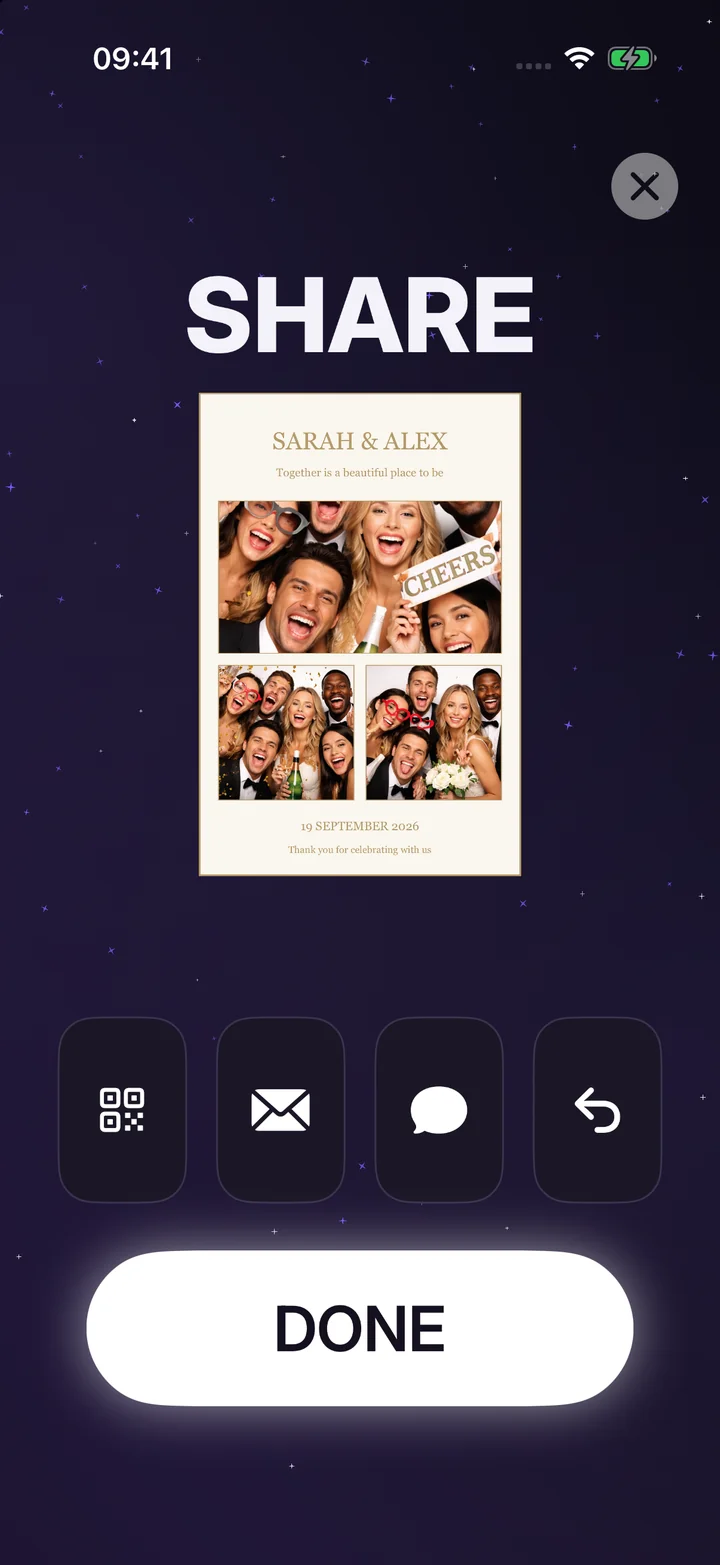
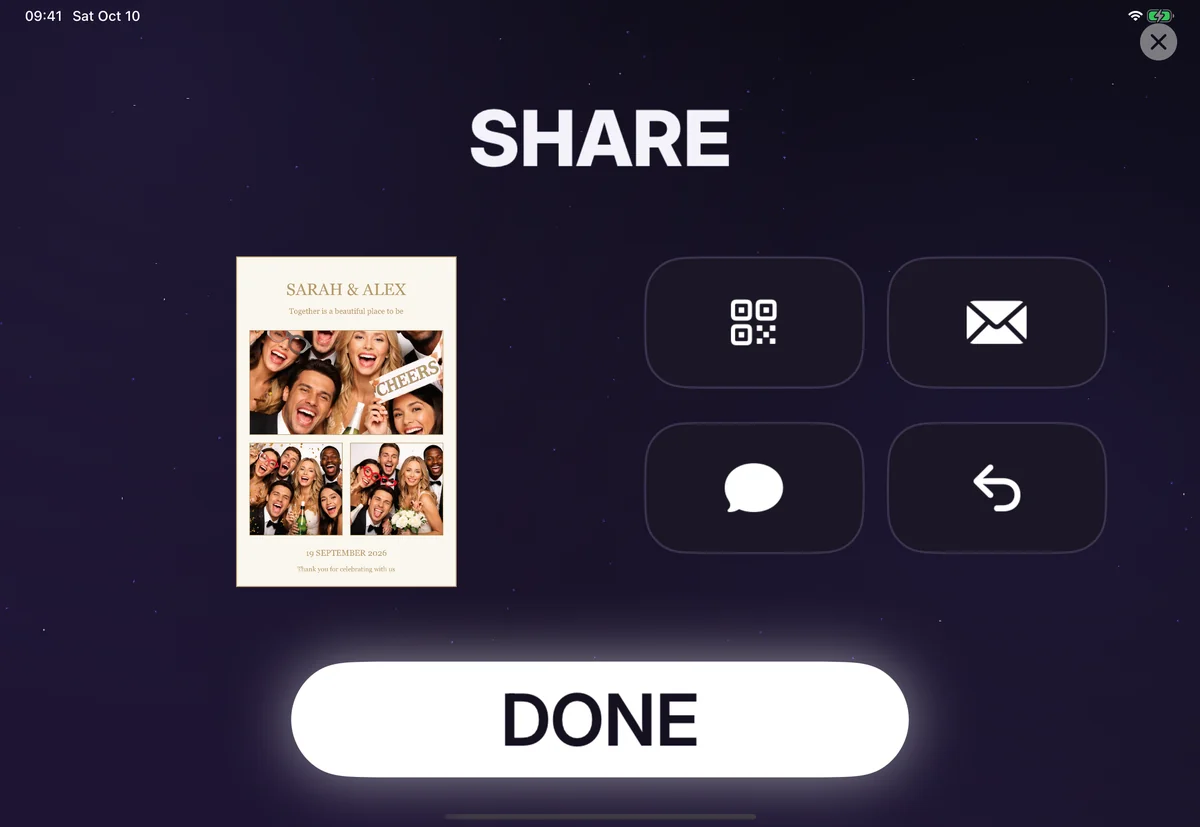
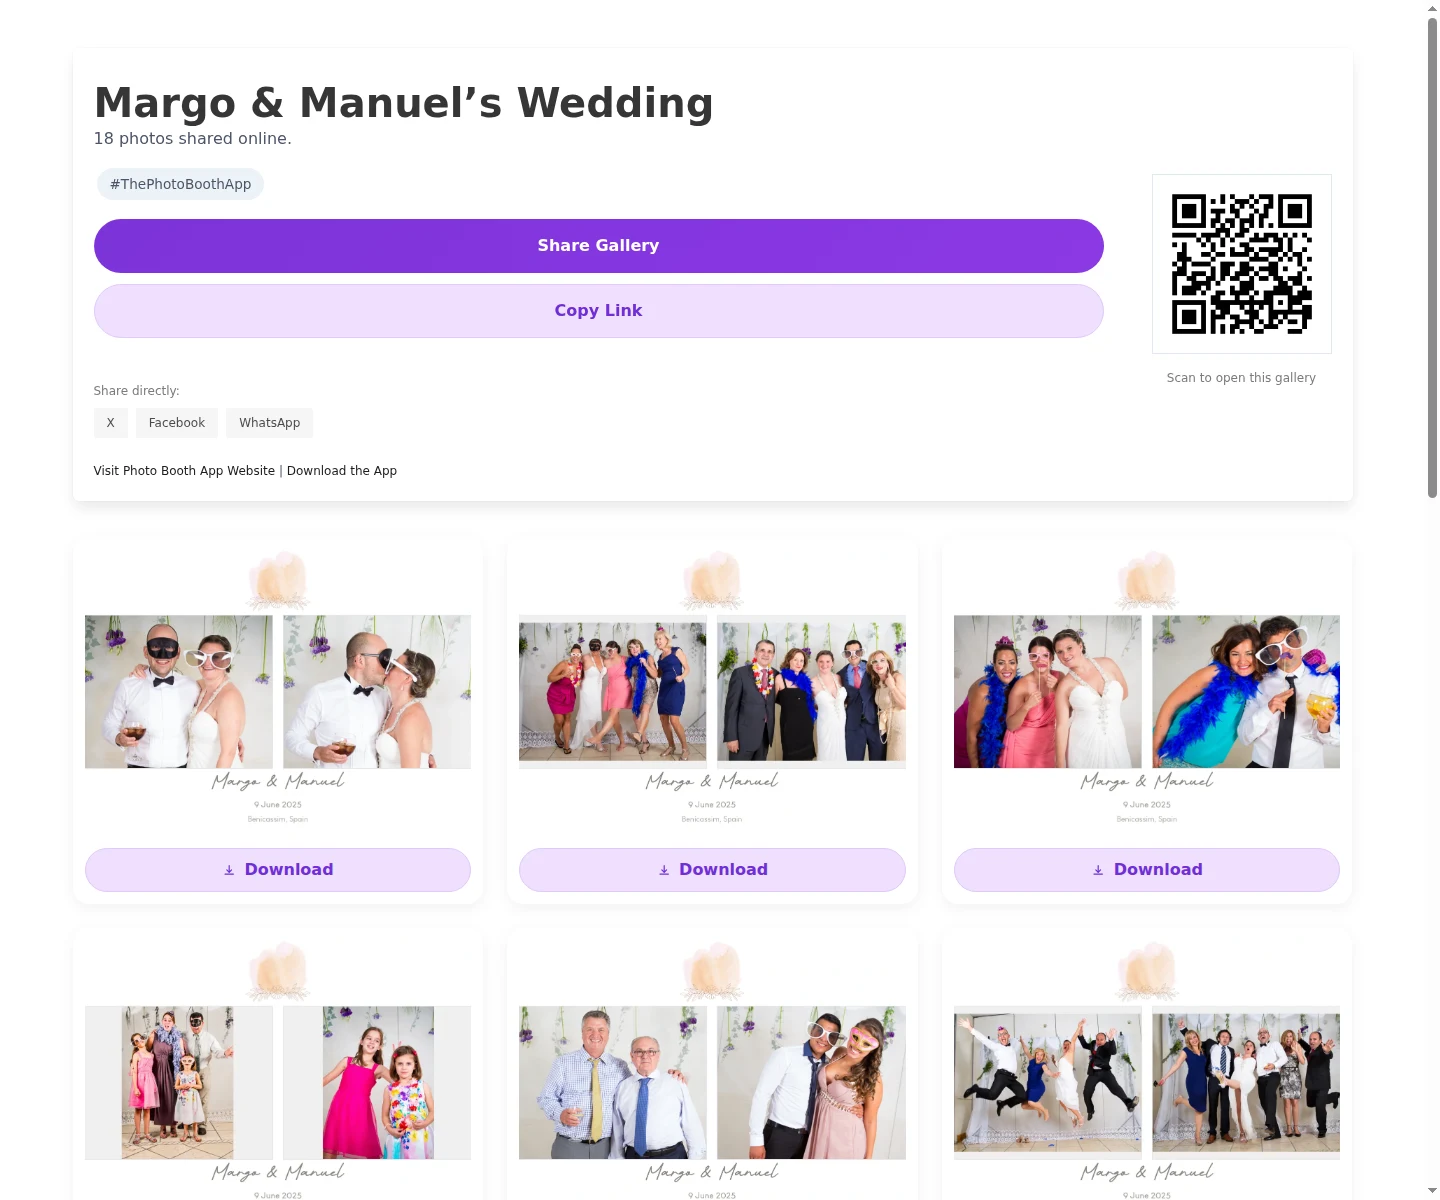
The sharing screen can include options like QR code, email, message, and print, depending on the event setup.

Step 15: Share Now screen with QR, email, message, and print buttons
Step 15: Sharing options can be shown after each capture.

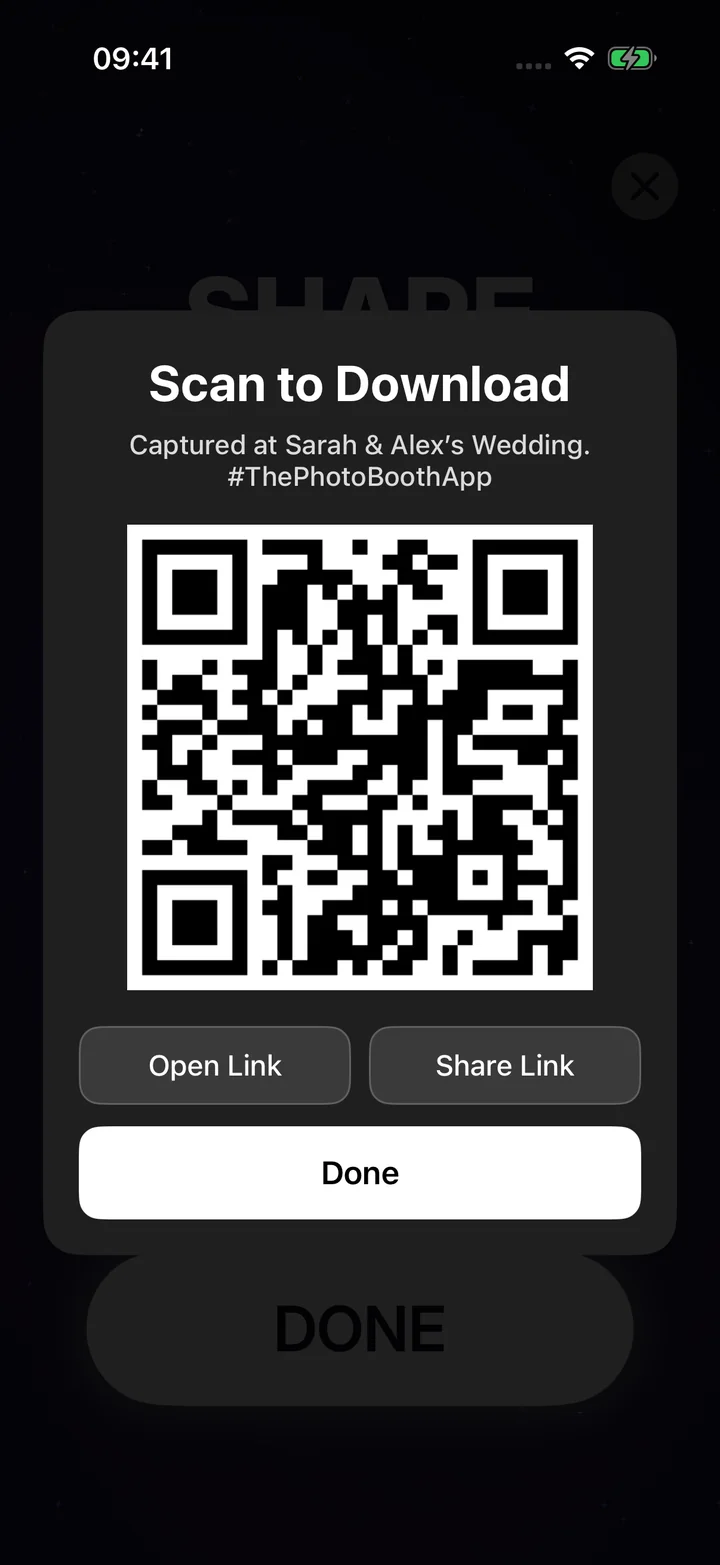
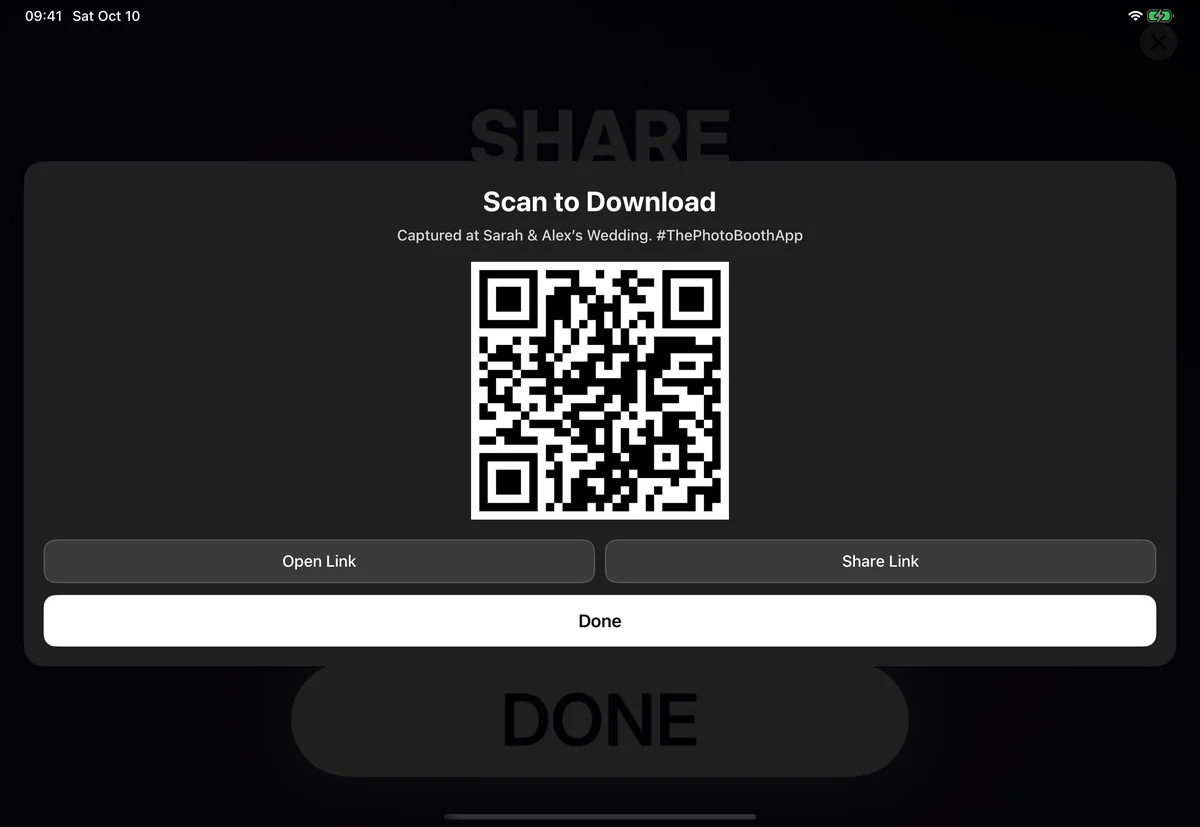
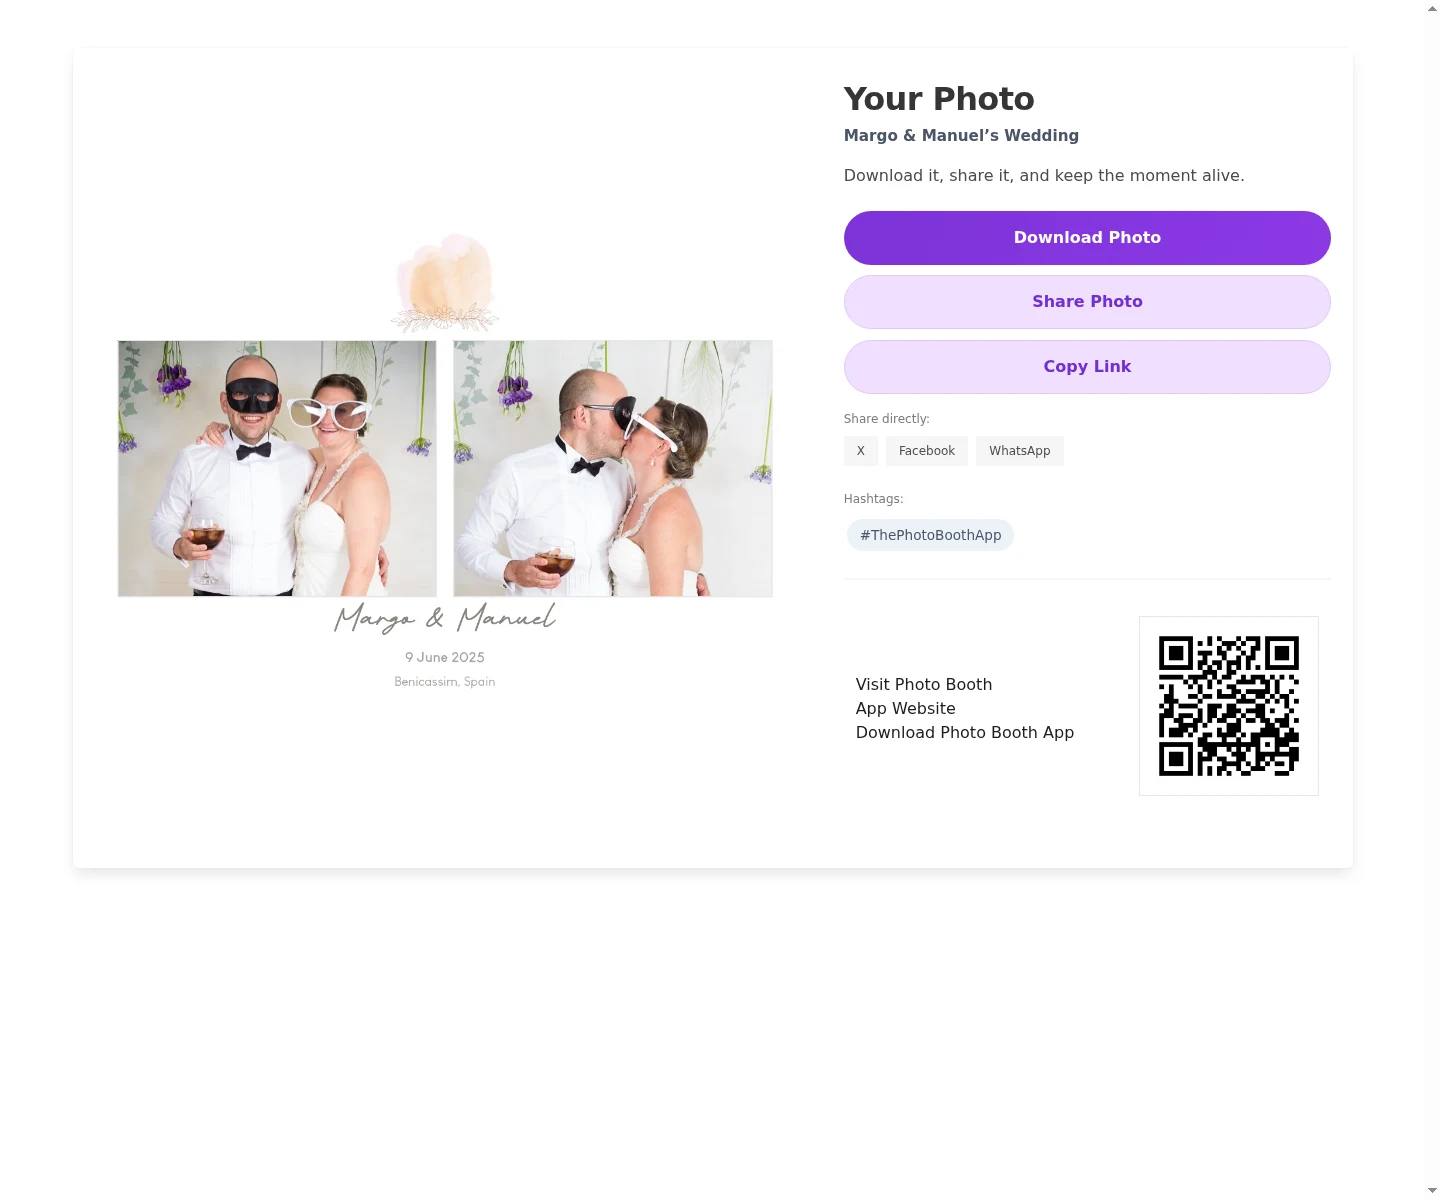
For QR sharing, guests scan a code to download the photo.

Step 16: QR code download modal shown over a share screen
Step 16: QR sharing makes it easy for guests to get their photo on their own device.

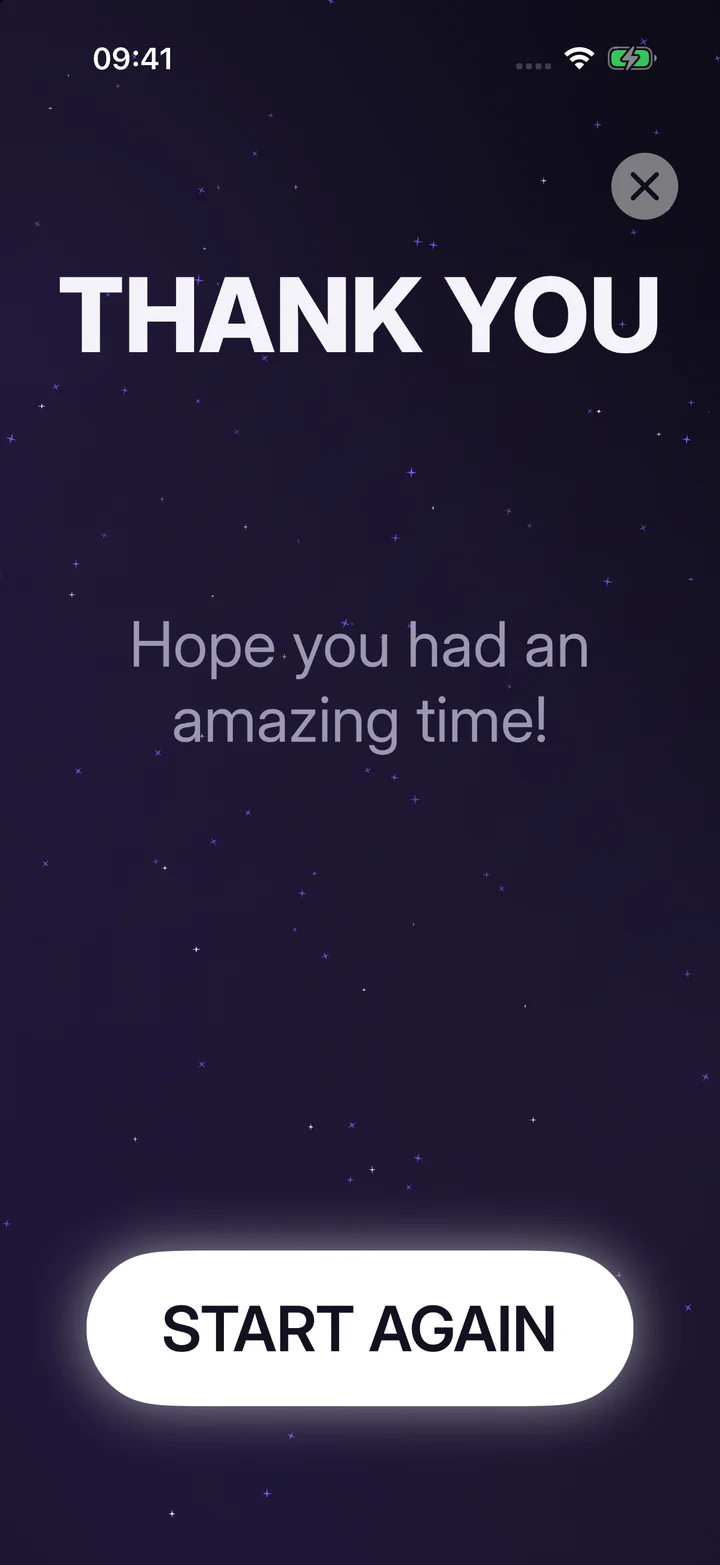
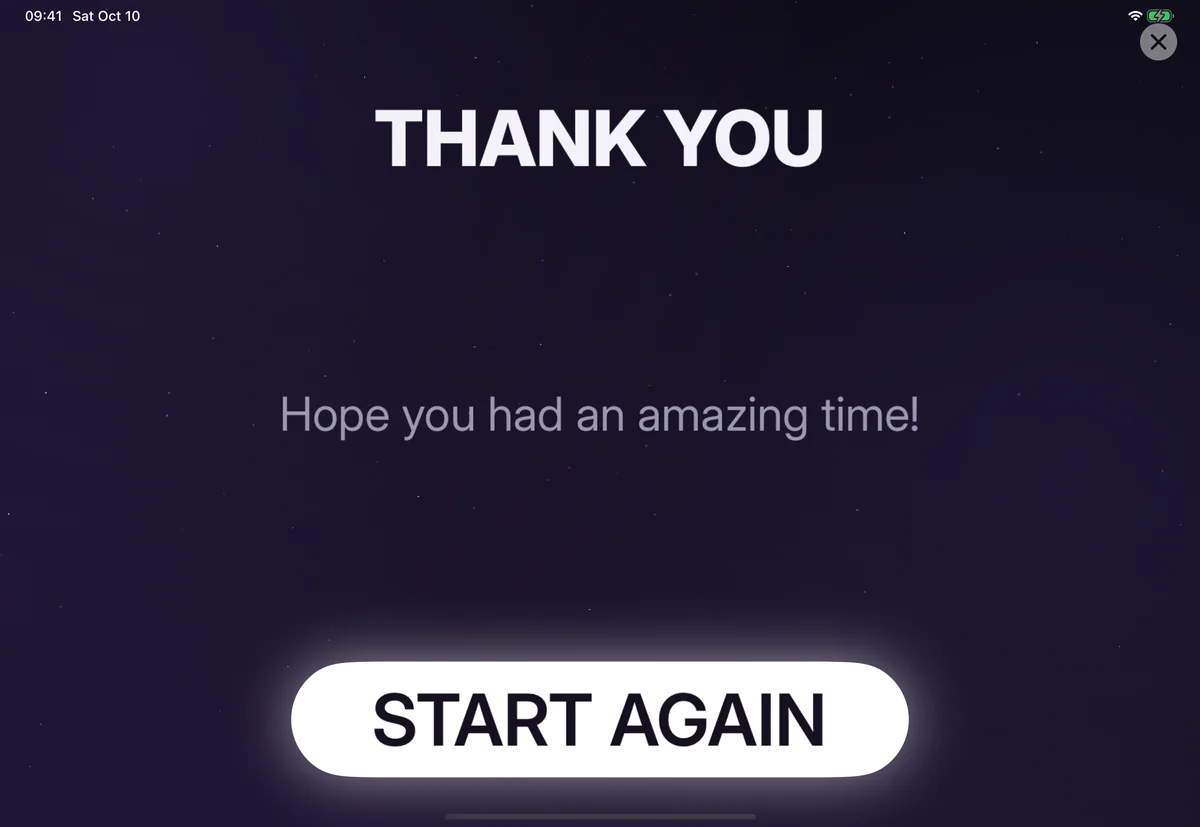
When the session is complete, the app shows a goodbye screen and gets ready for the next guest.

Step 17: All Done screen with a continue button
Step 17: The goodbye screen resets the experience for the next guest.

Customize Screens and Animations

The booth can be customized without rebuilding the event from scratch. You can choose a different start screen, add a new screen, or update the sequence.

Step 18: Select Start Screen panel with multiple start screen designs
Step 18: Start screens can be swapped from the event editor.

Countdown animations can also be customized.

Step 19: Select Countdown Animation screen with basic, sparkles, neon, retro, curtain, and light beams options
Step 19: Countdown styles help the booth match the tone of the event.

The Full Flow

The full app flow is:

  1. Create or open an event.
  2. Choose templates.
  3. Build the guest sequence.
  4. Configure settings and sharing.
  5. Run the pre-launch check.
  6. Let guests tap, pose, capture, and share.
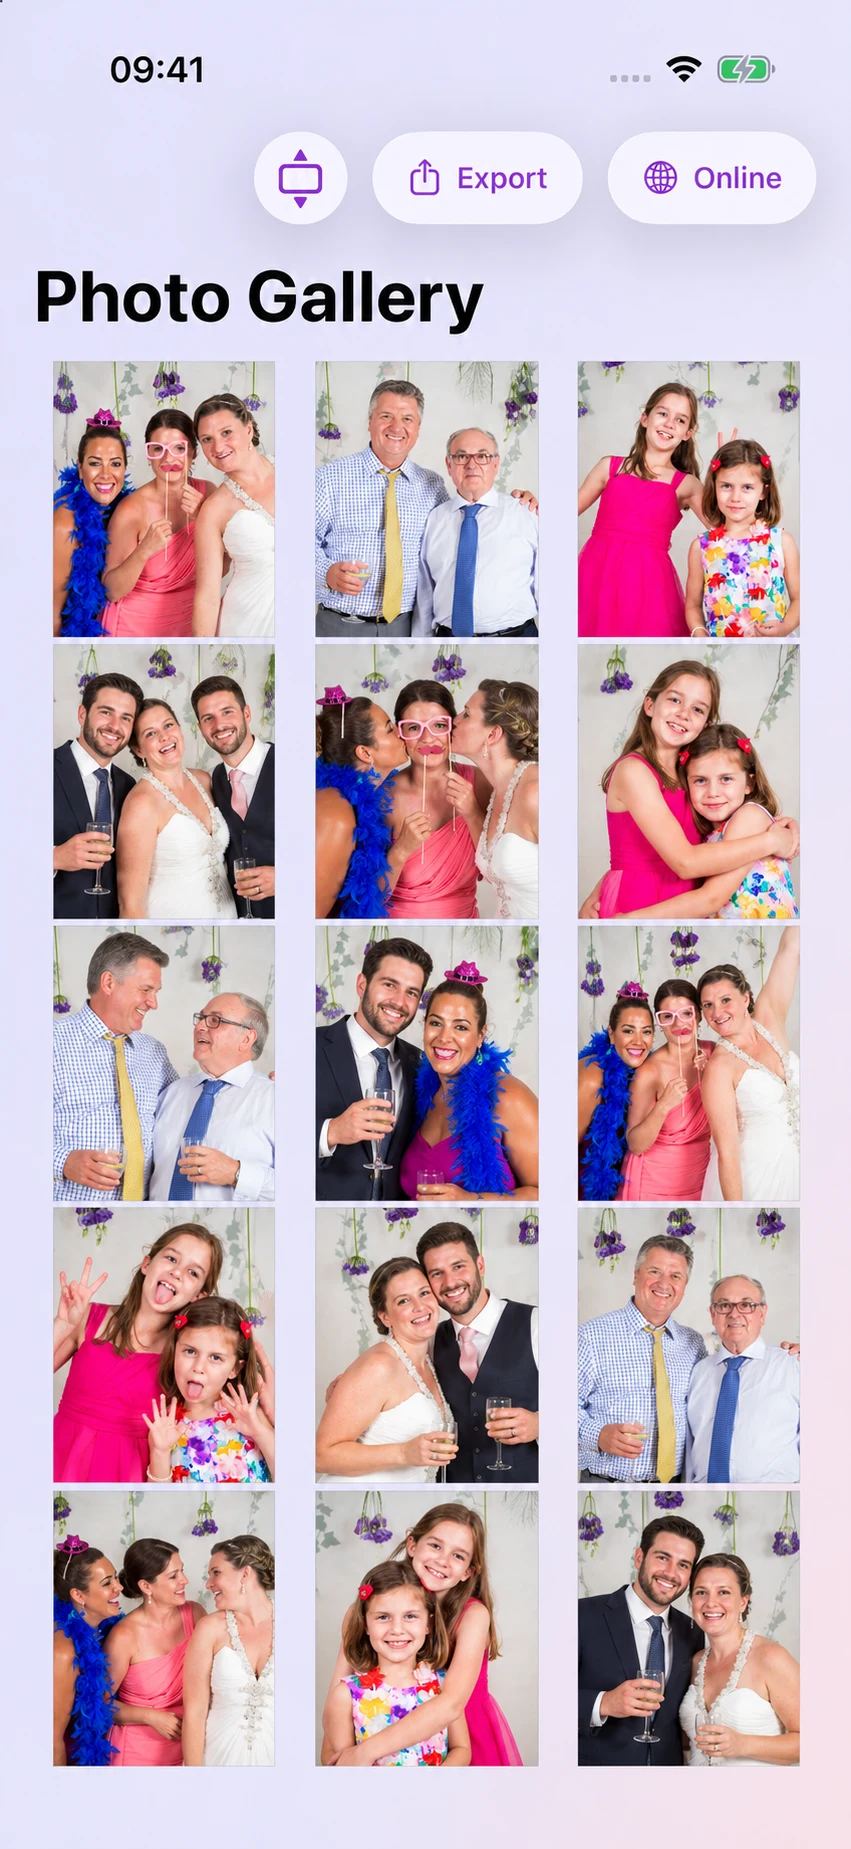
  7. Review analytics and event photos afterward.

My goal is to make the setup flexible for the host while keeping the guest experience simple. Guests should only need to know one thing: tap the screen and have fun.

Thank you for reading. ๐Ÿ“ธ

Manuel EscrigCreator of The Photo Booth App

Read More From Blog.

How to Set Up an iPad Photo Booth for an Event

A practical checklist for turning an iPad into a simple, reliable photo booth for weddings, parties, and company events.