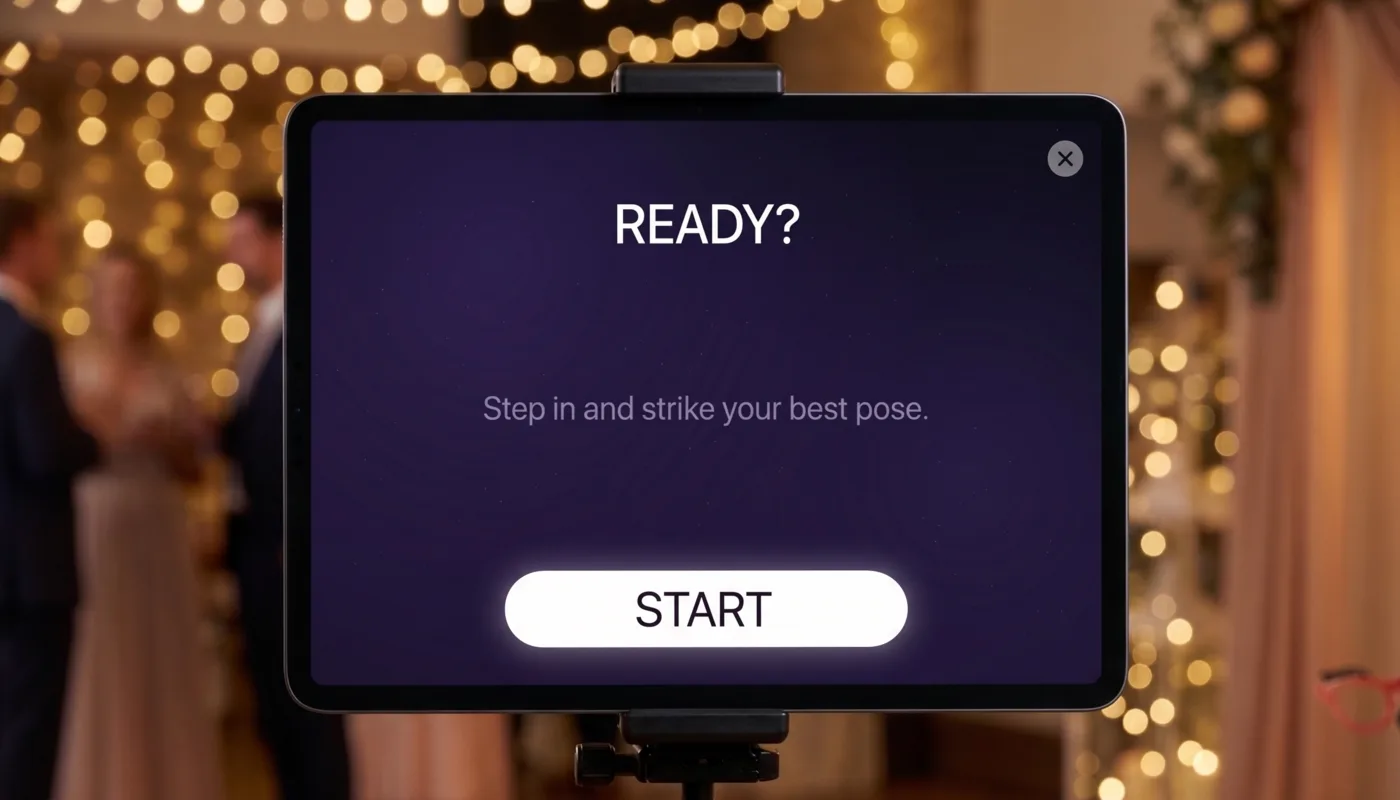
An iPad photo booth should be easy for guests to use. Guests should be able to walk up, take a photo, and get back to the event without needing instructions.
Here is the setup I recommend before any event using Photo Booth App.
For a real wedding example, see Margo & Manuel’s iPad wedding photo booth, including their setup, guest photos, and floral template examples.
Gather the Equipment
Bring an iPad running iPadOS 15 or later, a stable stand that holds it securely, a charger, and a cable long enough to reach power. Check the available storage before the event so the device has room to save photos.
Lighting, a backdrop, and a printer are optional. Start with a test photo in the venue: that tells you whether you need additional light or a different background. If you want prints, bring a compatible AirPrint printer, its supplies, and a tested network connection. Follow the printing checklist before buying equipment for the event.
Choose the Right Spot
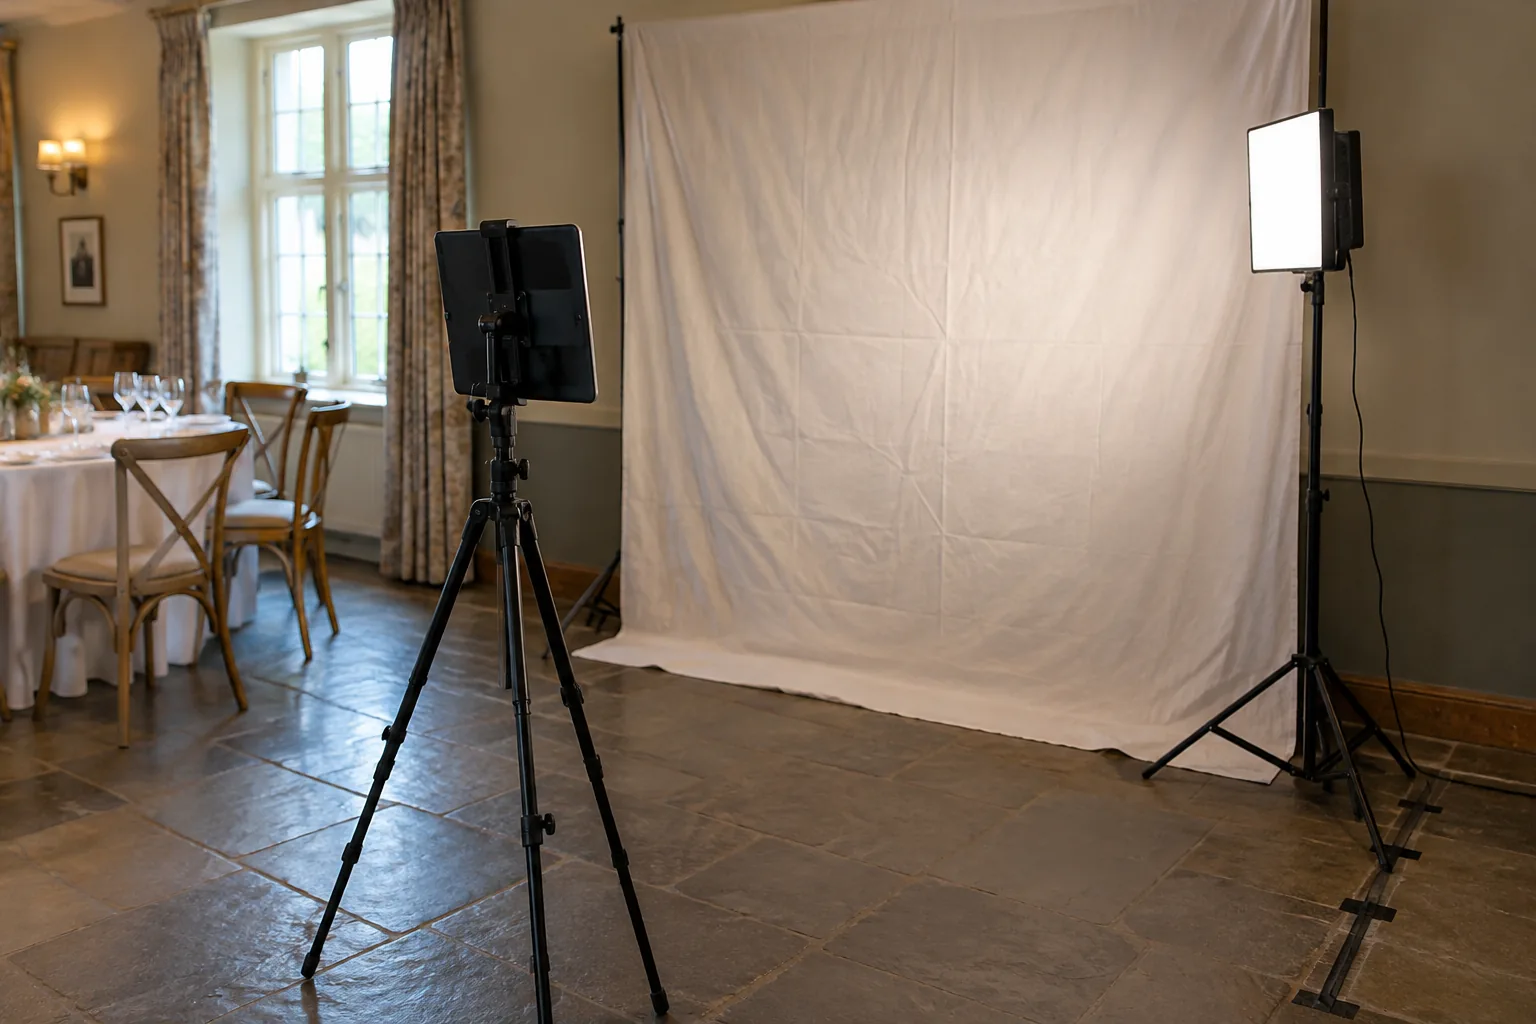
Place the iPad where people naturally gather, but not where it blocks the flow of the room. Near the entrance, next to the dance floor, or beside the guest book usually works well.
Look for three things:
- Enough space for small groups to stand together
- A clean background or wall behind the guests
- Easy access to power
If the room is crowded, angle the booth slightly away from the busiest path so guests can queue without getting in the way.
Keep the iPad Powered
Photo booths run for hours. Start with a fully charged iPad, then keep it connected to power during the event.
A long charging cable is usually better than relying on a battery pack. If you use a cable, tape it down or route it behind the booth so nobody trips over it.
Prepare the Event in the App
Create a separate event, select its template, and choose the capture and sharing options you want guests to see. Use a test photo to check names, dates, branding, and the position of each photo. If you are bringing your own artwork, follow the template import guide.
Set the camera angle for the people who will use the booth. Test with two or three people together, including someone at each edge of the frame. A position that works for one face may cut off a group.
Keep the iPad in the App
Before guests arrive, open Photo Booth App and make sure the event screen is ready. Turn on the settings you need, test the countdown, and take a few test photos.
If guests will use the iPad on their own, use Guided Access on iOS or iPadOS. This keeps guests inside the app and prevents accidental taps from opening other screens.
Test Lighting Early
Good lighting matters more than the camera. Take a test photo from the exact spot where guests will stand.
If faces look too dark, move the booth toward softer light or add a small LED panel. Avoid placing guests directly in front of a bright window because the bright background can make faces look dark.
Make Sharing Simple
Decide how guests will receive their photos before the event starts. If you plan to use QR sharing, test the connection and scan the code from another device.
For events with unreliable internet, save photos on the device and upload them later. A photo booth should keep working even when the venue Wi-Fi does not.
Have a Backup Plan
If sharing stops working, keep taking photos and check that they’re saved on the device. Tell guests how they will receive their photos later rather than leaving a QR code that does not work. If printing stops, check paper and supplies and offer another sharing option you’ve already tested.
Assign one person to check power, storage, and the booth occasionally. Guests should be able to enjoy the booth without having to fix it.
Do a Final Walkthrough
Ten minutes before the event starts, try the booth from start to finish:
- Open the booth screen.
- Take a test photo.
- Confirm the photo saves correctly.
- Check the gallery or sharing flow.
- Make sure the iPad is charging.
Once that works, ask someone who has not set up the booth to try a session without your help. Their first attempt is a useful check of the guest screens and instructions.
Bonus Tip: Add a Photo Guest Book
Place a guest book beside the photo booth with pens and tape or glue dots. Ask guests to add a photo and leave a short message. You’ll have their photos and messages together in one place after the event.
If you’re printing, plan for two copies: one for the book and one for guests to take home. Bring enough paper and ink, and try the printer before guests arrive. The photo booth printing guide covers the setup.
Add a small sign that says “Take a photo, leave a message.” This works for weddings, birthdays, and other celebrations. Without a printer, guests can still write a note in the book while you keep the photos in the event gallery.
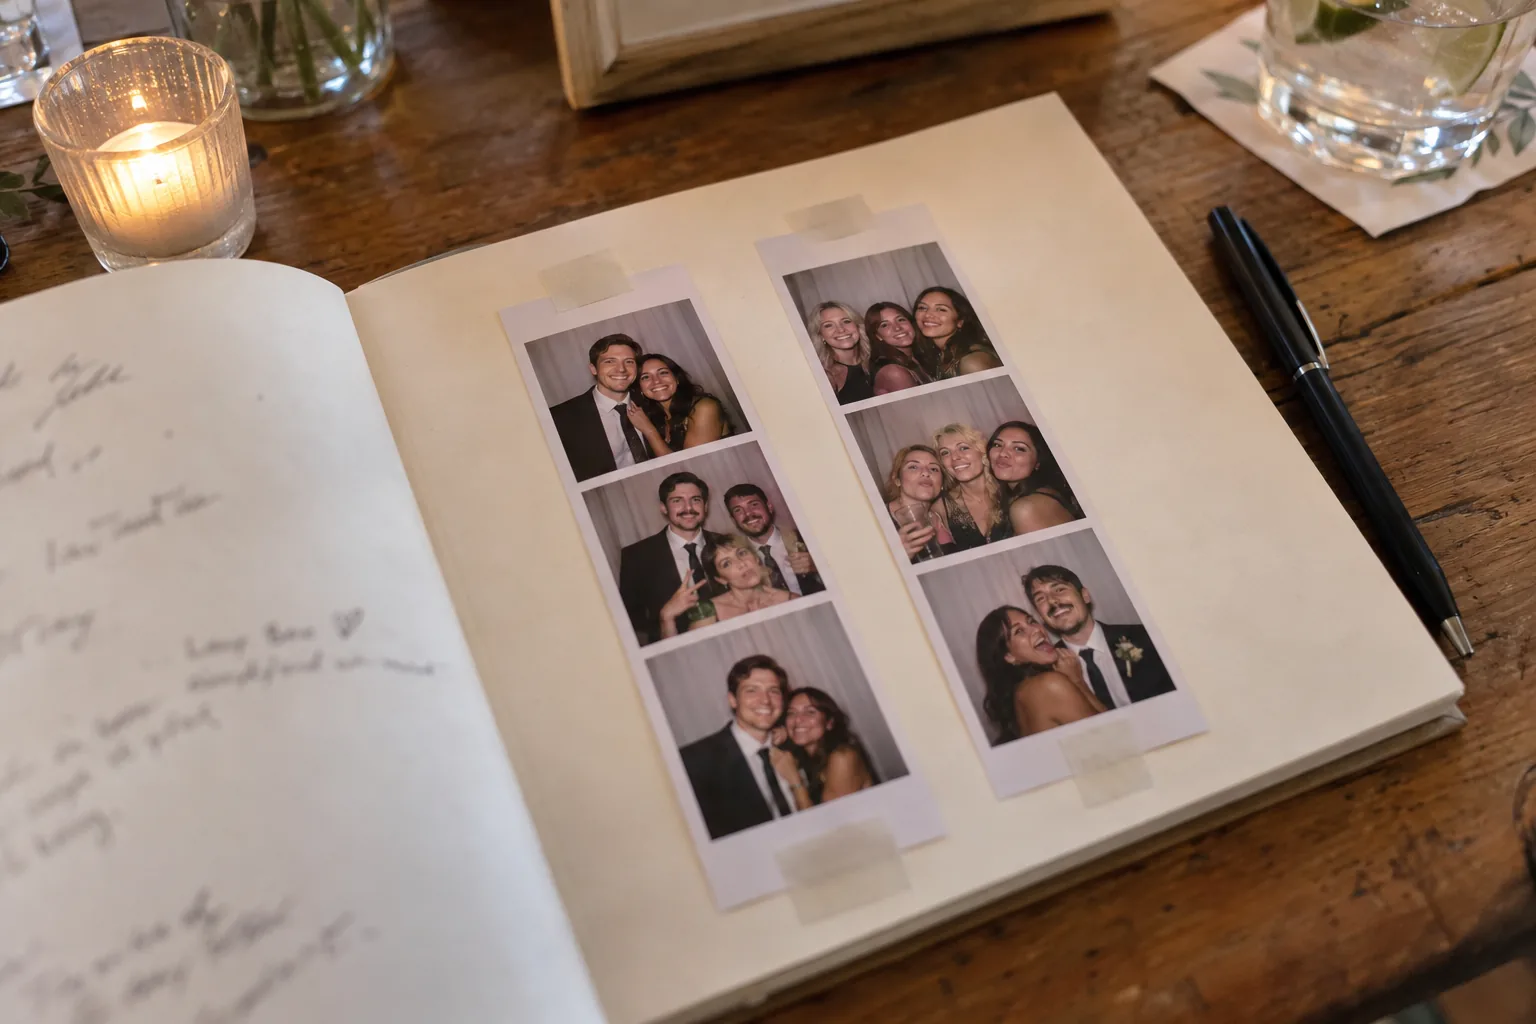
The best setup is not complicated. Start with a sturdy stand, good light, power, and a full test before guests arrive.
Download Photo Booth App and run the walkthrough on your own device before the event. The app is free to download. See what’s free and what needs Premium.
If you try Photo Booth App at an event, I would love to hear what worked well and what could be better. Your feedback helps me improve the app.
Thank you for reading. 📸
Manuel Escrig

Manuel Escrig
Manuel is the creator of Photo Booth App and GoInspired LLC. He builds the iPhone, iPad, web, and event-gallery pieces behind the product. Read more about me
 Share on Facebook
 Share on X
Keep reading
All posts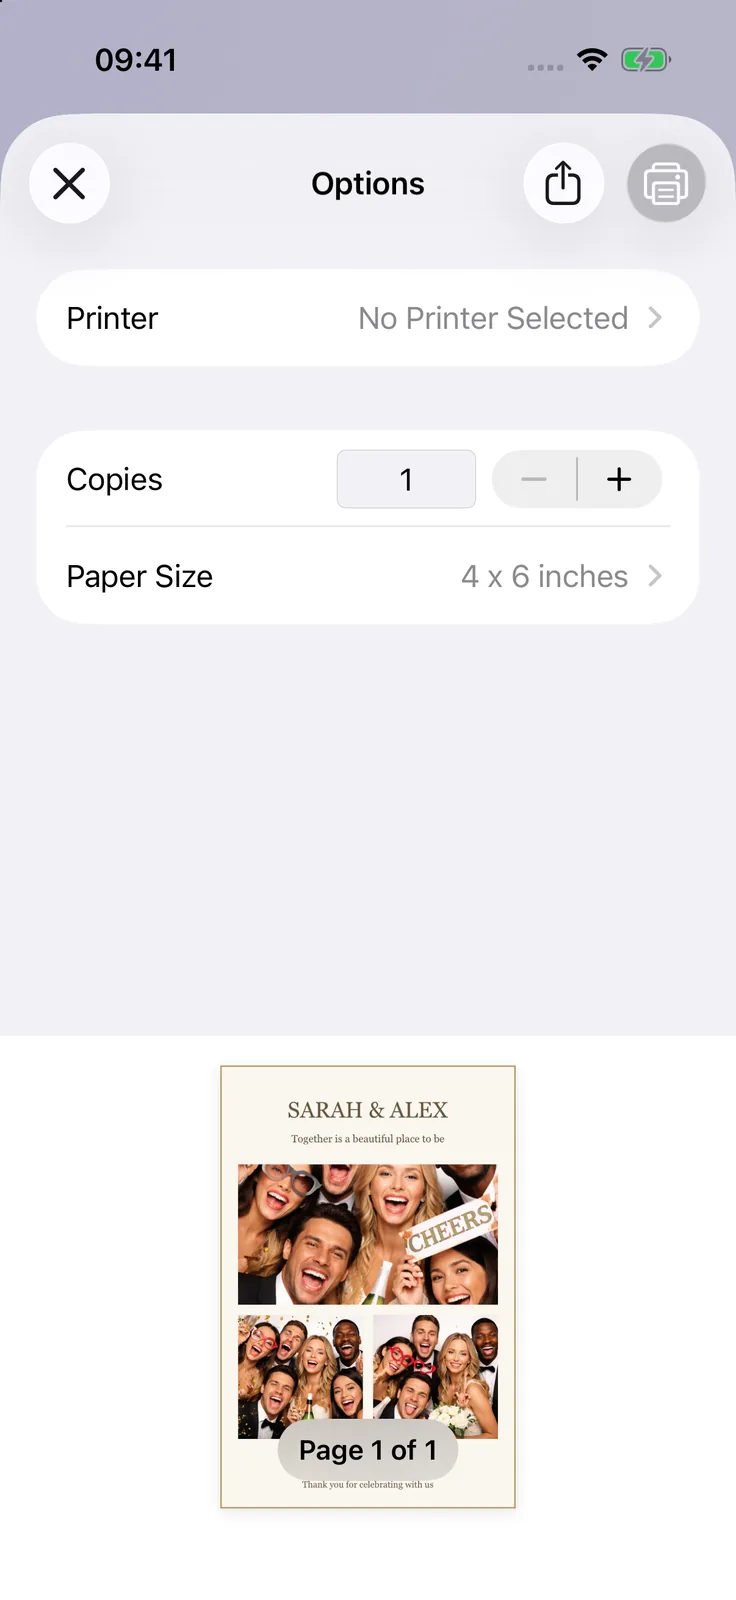
Print photo booth photos with AirPrint
Set up an AirPrint printer, choose your paper size, and make a test print. Find out what to check if your printer does not appear.
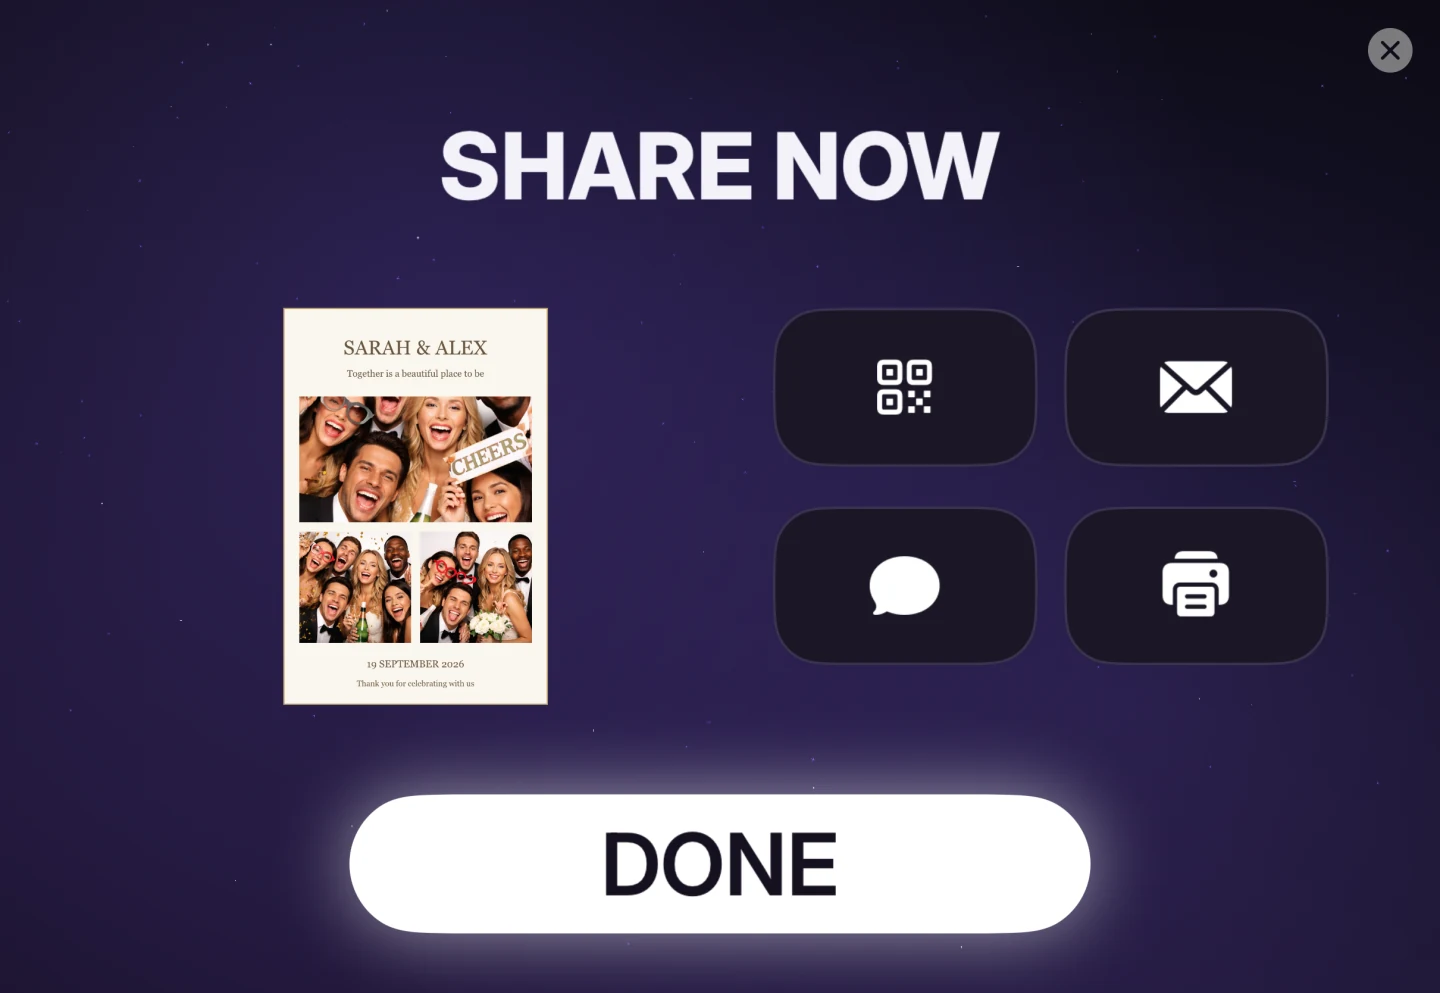

Photo Booth Sharing Guide for Event Hosts
Help guests get their photo booth photos through AirDrop, QR codes, email, text messages, online galleries, or prints.