Use a built-in layout or bring your own artwork into Photo Booth App. A template sets out the photo areas and design that appear in the finished image.
# Choose the layout before designing
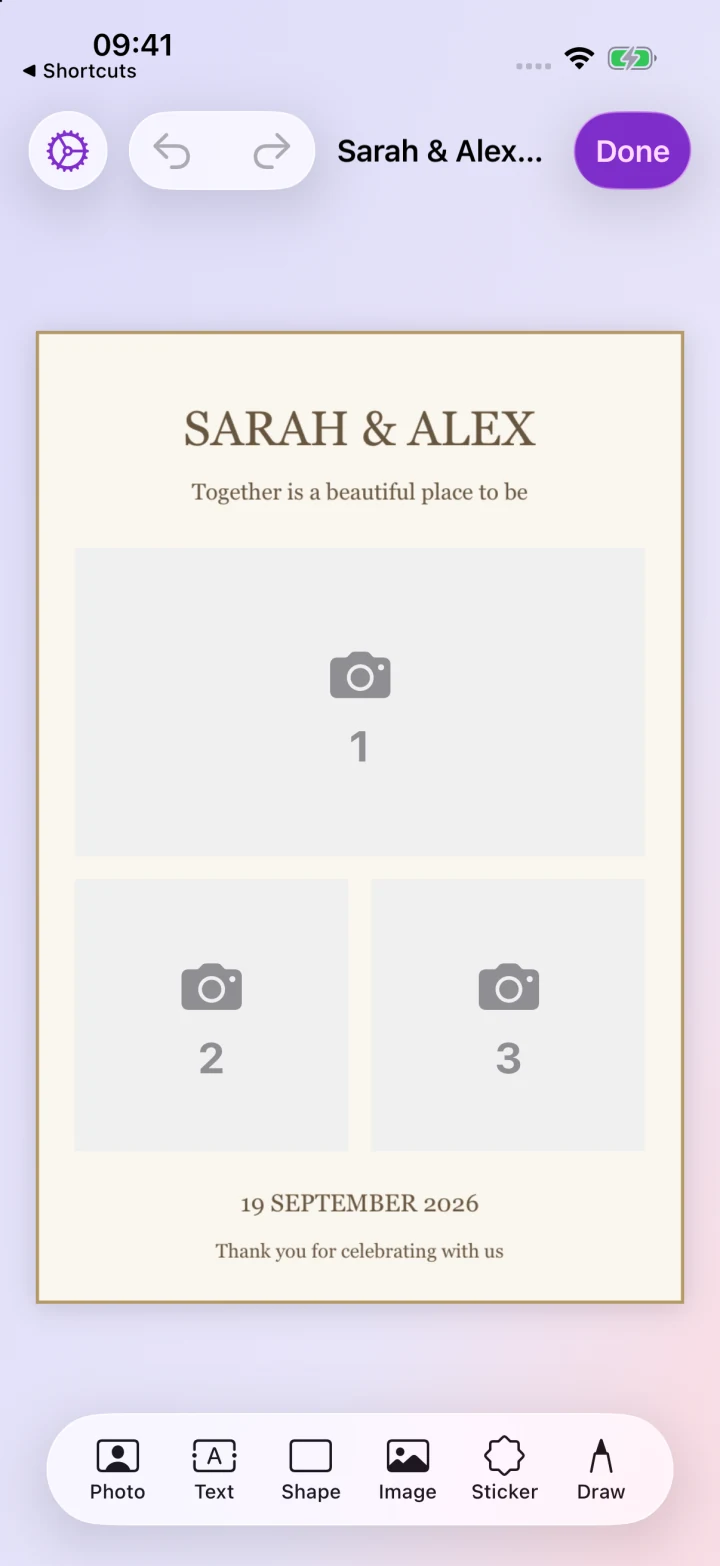
Decide how many photos you want in each result and whether guests will receive a digital image, a print, or both. If you plan to print, start with the paper size your printer supports.
For a wedding, a simple layout with the couple’s names and date leaves room for the photos. For a company event, keep the logo and event name readable without covering faces. Take a test capture to check the result rather than judging the empty template alone.
# Import your own PNG or JPG
You can import artwork from your photo library or the Files app. You can also send a PNG or JPG from another app using the share sheet and open it in Photo Booth App.
- Open Create Template and choose your artwork.
- Check the suggested print size and crop. If the image needs trimming, review it before continuing.
- Position the photo areas over the design.
- Save the template and select it for your event.
- Take a sample photo and check that text, borders, and photo areas line up.
Use artwork that stays sharp at the intended output size. If you are printing, make a physical test print: small text and narrow borders can look different on paper.
# Match the guest screens too
The printed or shared photo template and the booth’s on-screen flow are separate parts of the experience. Customize the welcome and other guest screens so the booth feels consistent with the finished photos. Check the countdown, sharing, and goodbye screens as part of your test session.
# Back up designs across devices
Sign in with Apple to sync supported designs and event settings. Free accounts can sync one custom template; Premium accounts can sync every custom design. Your local designs remain on the device when you sign out.
Before moving a booth to another device, sign in there and check that the intended template is available and selected for the event. See the free and Premium overview for the plan distinction.
For a visual walkthrough of templates and the guest flow, read how Photo Booth App works.